Monthly Archives: April 2020

Anderson plug pitfalls

The Doc has been working with Anderson plugs lately. Anderson plugs are used for various 12 volt wiring in the Nissan Patrol, like supplying power to the fridge or auxiliary battery in the trailer. They look like this:

Genuine Anderson plug

The new solar panel is connected to the DC to DC charger with an Anderson plug, plus the new Battery Box also has them.

Anderson plugs come in various sizes and colours, the most common is the grey 50amp version used in cars and caravans. Anderson plugs come in various colours, with each colour only being compatible with the same colour (although black and grey of the same size are commonly compatible). The Doc is talking about the grey 50amp plugs.

The Doc has identified a few pitfalls when buying them.

Anderson plug verse Anderson “style” plug

The genuine Anderson plugs are called Anderson plugs, the third party knock offs are normally called Anderson “style” plugs. The knock offs can have a different size housing which can cause issues when plugging them into a genuine Anderson plug. They can also be of inferior quality. Lastly, the spring inside an Anderson “style” plug that holds the lug in place can be sub-standard compared to the real thing. Warning: knock off lugs may not fit properly into a genuine Anderson housing. The lugs will not correctly lock over the internal spring.

Tip: buy the genuine item (see more below).

Shy high pricing

The Doc has seen pricing as high as $36 for a genuine grey Anderson plug with the lugs. A complete Anderson plug means the housing plus two lugs (sometimes the housings and lugs are sold separately). Other colours like red (commonly used with solar), blue and yellow cost even more.

Even third-party knock offs can be over $20 for a single Anderson plug!

Either price is daylight robbery.

Buy genuine Anderson plugs here

The Doc sources genuine Anderson plugs for about $3 each (including lugs). The price can vary a little depending on how many you buy. Even Australian Direct sells a knock off for $9 each, plus postage. The Doc is getting them for $3 each including postage (The Doc is a member of eBay Plus).

The Doc buys genuine Anderson plugs at Connector-Tech ALS’ Ebay store here.

Connector-Tech ALS is a supplier of military and commercial harsh-environment connectors. They have wholesale pricing on their eBay store. Warning: housings only are cheaper than $3 each but they do not come with the lugs, hence the cheaper price.

At $3 each there is no reason to buy third-party brands.

Lug size varies

Many Anderson style plugs have only one size lug – we are talking of the internal size on the hollow end where the wire is crimped or soldered.

The Doc crimps the copper wire into the lug, when using thinner wire this can cause problems when crimping.

You can buy genuine Anderson lugs in 3 internal sizes, 6AWG, 8AWG or 10-12AWG. The Doc then matches the wire size to the hollow end of the lug to get a perfect crimp.

Tip: it is always a good idea to have extra lugs if you mess up a crimp or need to rewire a plug.

You can change the Anderson plug housing

Anderson plugs of a given size (say 50amp) but a different colour are not generally compatible, as the housing shape is different. It is intended to stop people accidently mixing up incompatible power systems.

However, the lugs are the same. You can remove the lugs and wiring from say a grey Anderson plug and insert then into a spare red, blue or yellow Anderson plug of the same size.

Tip: the lugs click over the spring on the inside of the housing. Get a small screw driver, press down on the spring to release the lug and pull out the wire and lug. Insert into the new housing.

Quality copper cable

The other important requirement is good quality copper wire of the correct size. There is good quality copper wire made here in Australia by Tycab and Wise Owl. The Doc buys Australian made Wise Owl (made by Austech Wire & Cable) or Tycab copper wire – often from PX Wholesales, Connector Tech ALS, Tinker Wholesale, Autoelec or Brillante Sales.

Good quality copper wire can be expensive, but do it once and do it right. A failure in the power system in remote Australia can be disastrous and expensive.

Tip: keep wire offcuts, as The Doc has made various adapters from offcuts, like a grey Anderson plug (general usage) to a red Anderson plug commonly used for solar panels. It is only 30cm long but allows a conversion from one type of plug to another. Another option is to make a double adapter like this one from Australian Direct:

Crimping tips

The last ingredient is a good crimp. The Doc’s suggestions on getting good crimps:

  1. Buy quality Anderson plugs.
  2. Purchase a good wire stripper like the IRWIN VISE-GRIP 2078300 Self-Adjusting Wire Stripper. If you want a higher quality wire stripper buy the Klein Tools 11061.
  3. Purchase a Ratcheting Terminal Crimper than can be used with Anderson plugs. If you want a variety of dye heads for different crimp terminals jobs look at the SG Tool Aid SGT18980 Ratcheting Terminal Crimping Kit. Looking for an Anderson only crimper? Then try the OPT crimpler. Rhino Tools has a good selection of crimpers.
  4. Strip the insulation from the wire to the correct length with the wire stripper (note how much quicker, easier and higher quality the wire stripper is compared to a pair of pliers).
  5. Match the lug size (hollow end) to the wire thickness (important for good crimps).
  6. Place the lug in the correct dye in the crimping tool. The Doc gently close the crimper to lock the dye onto the lug but without compressing the lug, then The Doc inserts the wire into the lug and holds the wire in place The Doc compresses the crimping tool.
  7. Using the correct size dye and placing the lug correctly into the dye is important.
  8. A ratcheting crimper applies the correct pressure to complete great crimps.
  9. Place plastic shrink tubing around the wire and lug.
  10. Use an electric/butane heat gun to shrink the plastic tubing.
  11. Let the lug cool. Test the crimp.
  12. Insert both lugs into the Anderson housing (positive cable into positive and negative cable into negative slots in the housing). Click the lugs into place. The image above clearly shows which side of the housing is positive (+) and which is negative (-).
  13. Job done.
  14. Common mistakes when crimping: a) not matching the wire size to the lug, b) not using the correct dye for the Anderson lug, c) not correctly placing the lug into the dye jaws, d) not clicking the lugs into the housing (much sure the lugs are inserted the correct way so it locks in place over the internal spring in the housing), e) buying Anderson style plugs, not genuine Anderson plugs.
  15. Practice is important. Develop a good technique before using crimps in real life.

The initial cost of the tools can be expensive, but they will give you a lifetime of service. One job The Doc did on his car, meant the tools paid for themselves.

A Guide on crimping generally has also been posted here. That Guide is longer, has more tips and deals with crimp terminals rather than Anderson plugs.

Part 7 – Tony’s Outback Adventure II

Tony enjoyed his time at Arkaroola Wildness Sanctuary in the Flinders Ranges in South Australia. We dined at the restaurant at night, went on the world-renowned Ridgetop Tour to Sillars Lookout (with Lamingtons, tea and a hair raising 3-point turn at the Lookout), observed the stars in the Observatory (there are 4 at Arkaroola) and even took a plane flight over Arkaroola and Lake Frome.

On the Ridgetop Tour Tony got to sit in the passenger seat upfront, the rest of us bounced around in the back!

We visited a few abandoned copper mines – the Ridgetop Tour track was made when mining companies where looking for uranium in earlier times. The Flinders Ranges generally and Arkaroola in particular is one the most beautiful places in Australia and it is geologically unique in the world.

Arkaroola and the nearby Brachina Gorge are also home to the endangered Yellow-footed Rock Wallaby, Australia’s most beautiful macropod (kangaroo or wallaby). Pictures of Arkaroola and the Yellow-footed Rock Wallaby can be viewed here: http://thedocaus.com/blog/?cat=74

Our flight over Arkaroola.

Tony Stott – Part 6: Tony’s Outback Adventure

In 2014 Tony and I travelled around outback NSW, Queensland and South Australia. Places like the Warrumbungles, Broken Hill, Marree, the ochre pits at Lyndhurst, ruins at Farina, Arkaroola Wildness Sanctuary, Innamincka, Brachina Gorge in the Flinders Ranges, Epsilon in outback Queensland, Cameron’s Corner, Tibooburra, Menindee Lakes and lots of others.

Characters like Talc Alf, roadtrains and huge coal carrying locomotives, the odd emu and even some water in this parched part of Australia.

Tony had a long chat with Talc Alf and enjoyed his stories (Alf was also the Outback postmen, talc carver, talc miner and general dogs’ body!).

Here is a map of the trip. The kink over Lake Frome near Arkaroola in SA was a plane flight we both took around Arkaroola. Doug Sprigg was the pilot and he thanked us all for financing his hobby (flying) when we returned. Lake Frome is the whitest salt lake in the world and is used by NASA to make various measurements.

Tony often spoke about the trip. He had photos on his phone he would show to nurses on his many trips to hospital. Tony is in five images below and I have written a little story around each one.

Coffee at the Innamincka Pub in SA

We had a shower at the public shower block – after being so remote for a few days a shower felt amazing.

Tony is drinking coffee before lunch. Then on to juicy steak sandwiches, chips and salad in the dining area. Then cake and ice cream for desert. The food was superb. The Innamincka Pub at the time was owned by the same people who owned the Birdsville Pub, Innamincka had better food IMO.

Tony also retained fond memories of the Innamincka Pub. We talked about it for years after.

Canonba near Nyngan Outback NSW

Tony sitting beside the car near his tent around 6.30am. My bed is in the Patrol.

We had refuelled and resupplied at Nygnan the previous afternoon and drove out to the free camping ground at Canonba. It was on the Canonba Road about 10kms out of the Nygnan township. Close by us in the camping ground was a wandering drover with his dogs (hidden by the Patrol).

Canonba was once an important Outback town when it was a supply depot for Cobb & Co coaches. Once the railway went through Nygnan, Canonba disappeared.

Middle of nowhere

Tony with the trailer gate down boiling the billy for tea. We had camped overnight in the middle of nowhere. The driver was tied. We camped beside the Wool Track between Ivanhoe and Cobar, NSW. It was an access road to the surrounding stations and not a single car drove past the whole time we were there.

Coally Station, Far North West NSW

Tony is leaning on the passenger’s seat setting up his camera. This was at a small ephemeral wetland off the Silver City Highway near Coally Station Homestead.

Earlier we had driven through Cameron’s Corner (fancy hamburgers for lunch that time, yum), then through Stuart National Park in the far north eastern corner of NSW.

Epsilon Station, Outback Qld

The image with Tony standing at the car door looking forward was near Epsilon Station in remote Outback Queensland. We were travelling out of the area on private roads used to service the Moomba Gas Field oil wells. Earlier we saw the white camel also pictured.

The road is called the Nappa Merrie-Santos Road. We were on the Santos end, Nappa Merrie Station (Ranch for any American readers) being at the other end. In remote Australia it is common to name roads after the destinations at each end, it sure helps you know where you are going.

How do I remember these details? First, I add keyword to my images. Second, I keep a travel diary to help indexing. Last, I add GPS co-ordinates to the images. Here I mainly used the GPS co-ordinates and memory.

Due to some medical issues with Tony (bruising mostly) the trip lasted only two weeks instead of the planned three weeks. Due to Tony’s limited mobility I was visiting places where I could drive Tony close to the scenery or eating place. It worked out well. I still remember those delicious BLTs (bacon, lettuce and tomato sandwiches) at the Blenheim Pub, Flinders Ranges. SA.

Click on the first image and a slideshow will appear. Take five minutes to look through the images.

Happy Easter everyone. He is risen!

Tony Stott – Part 5: Tony’s motors

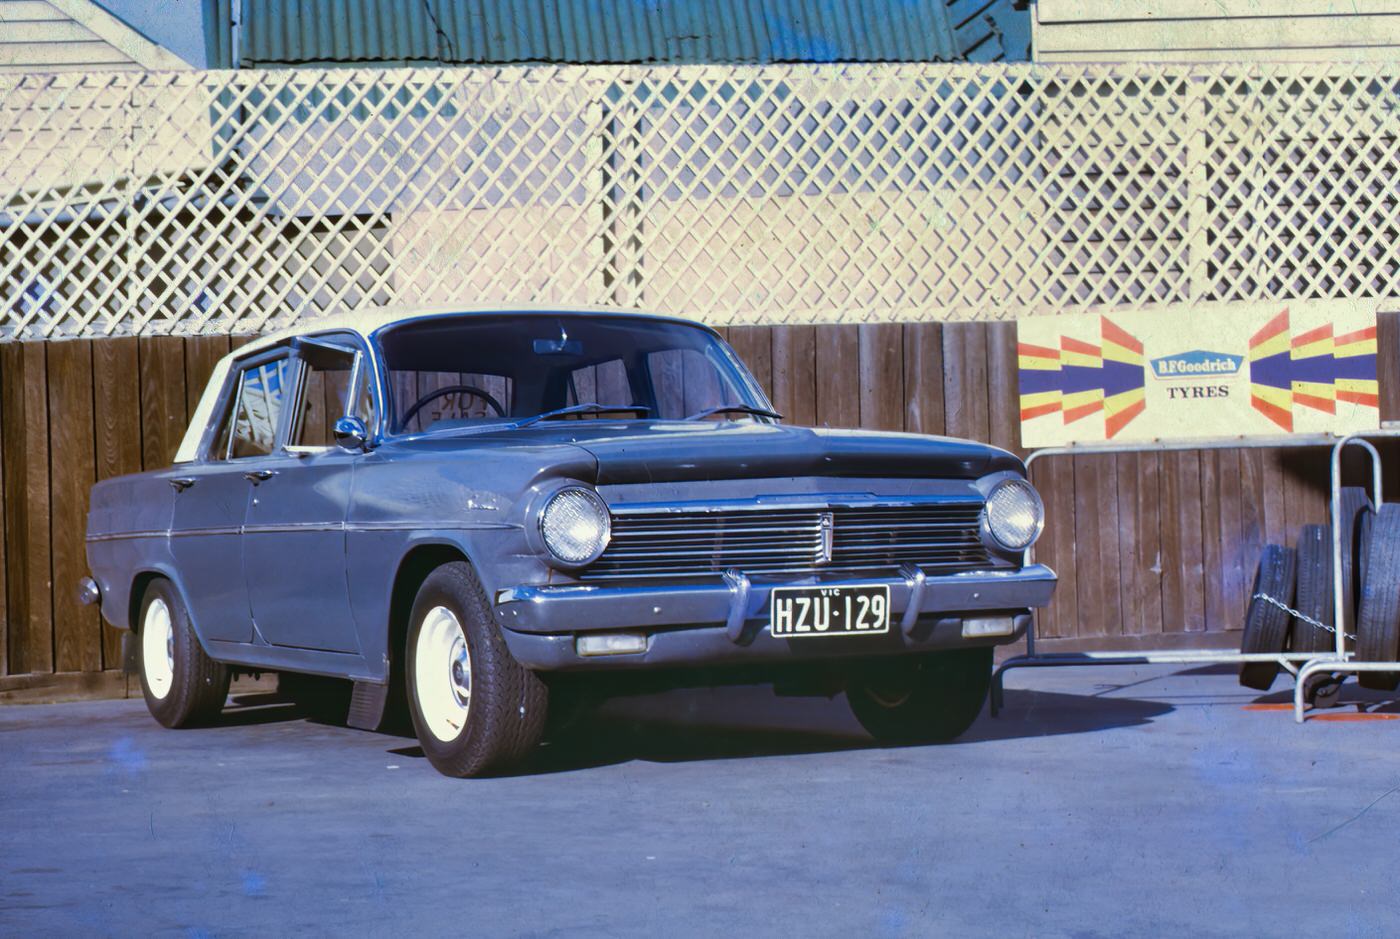
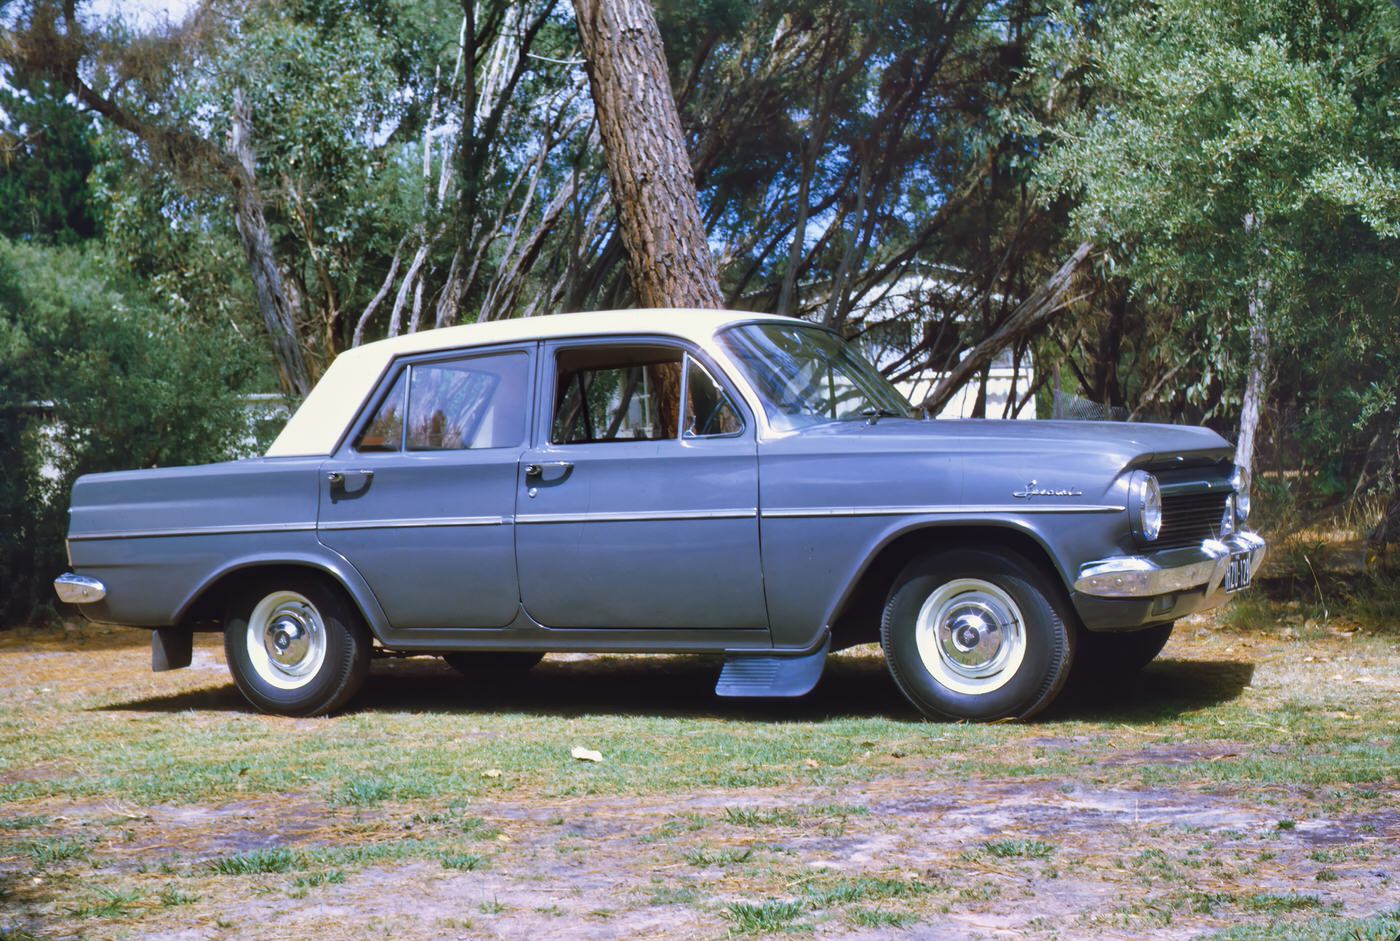
I recently scanned more of Tony’ personal slides including some of his cars. His beloved Holden, purchased from Garry Rogers Motors.

Tony later upgraded that to a green Holden Torana GTR XU-1. He often spoke of this car.

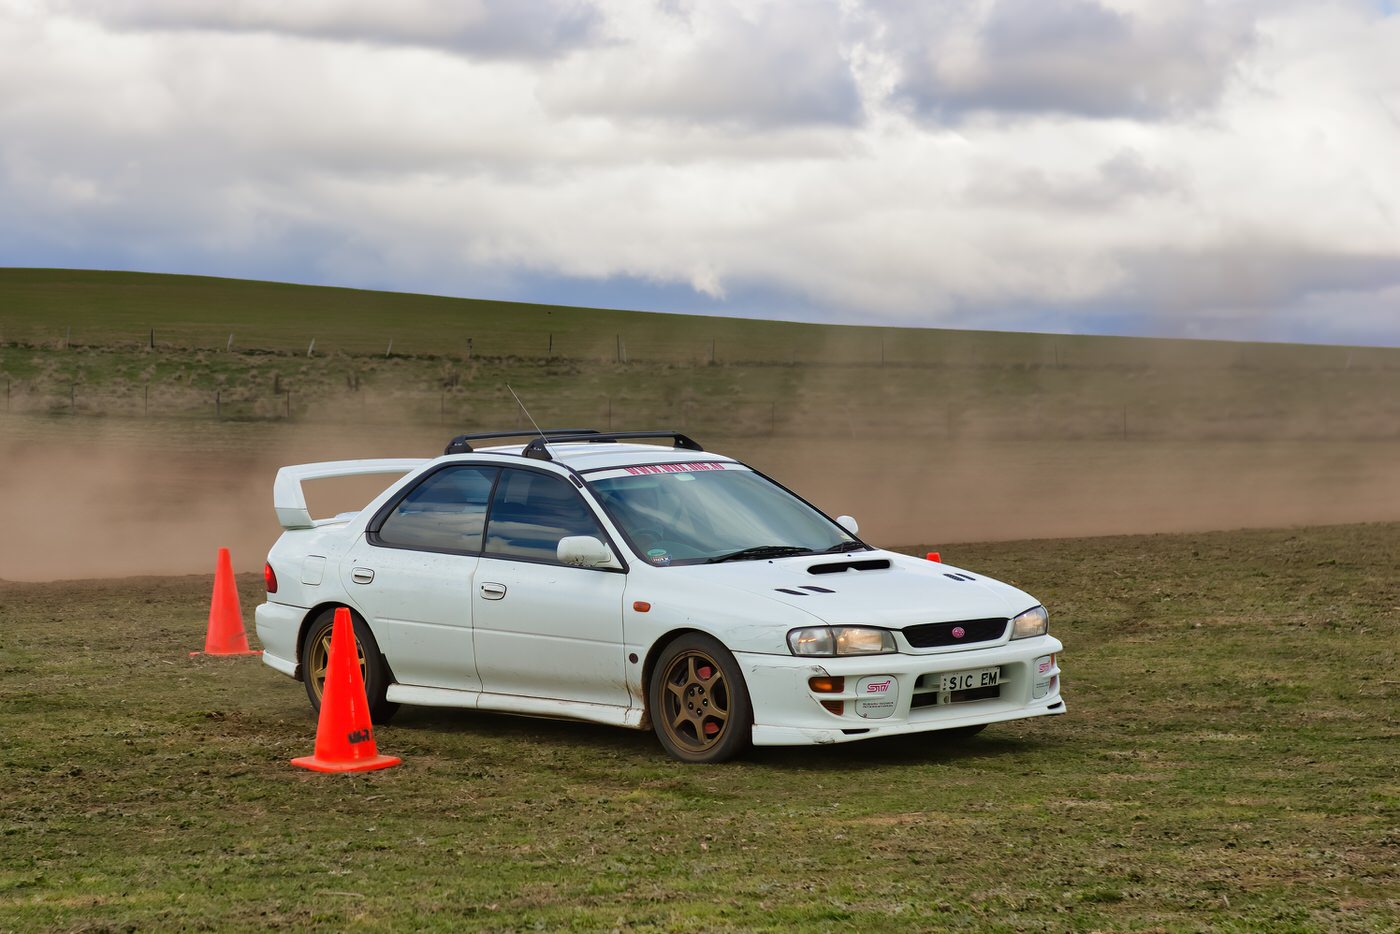
I know Tony had a Ford V8 along the way but have no photo (EDIT: photo found). He upgraded the Ford to a 1998 White WRX with gold Simmons mag wheels, then founded the NSW WRX Club and later upgraded to a White Subaru 4 door STi, with the number plates Sic Em.

Tony and many others loved the dirt days at Bathurst where we see Sic Em in action below.

When he moved to Forster, Tony took the STi and later sold it to finance his Hobie Adventure Island. It was a smart move as Tony enjoyed immensely sailing around the lakes and out to sea. Tony was then using a Holden Commodore Wagon as his motor, serviced free of charge by Dave Dick. Thanks Dave.

Tony Stott – Part 4: F1 drivers

Not only did Tony photograph the F1 cars, he has several images of F1 drivers. A few of which later died on the track, so Tony told me.

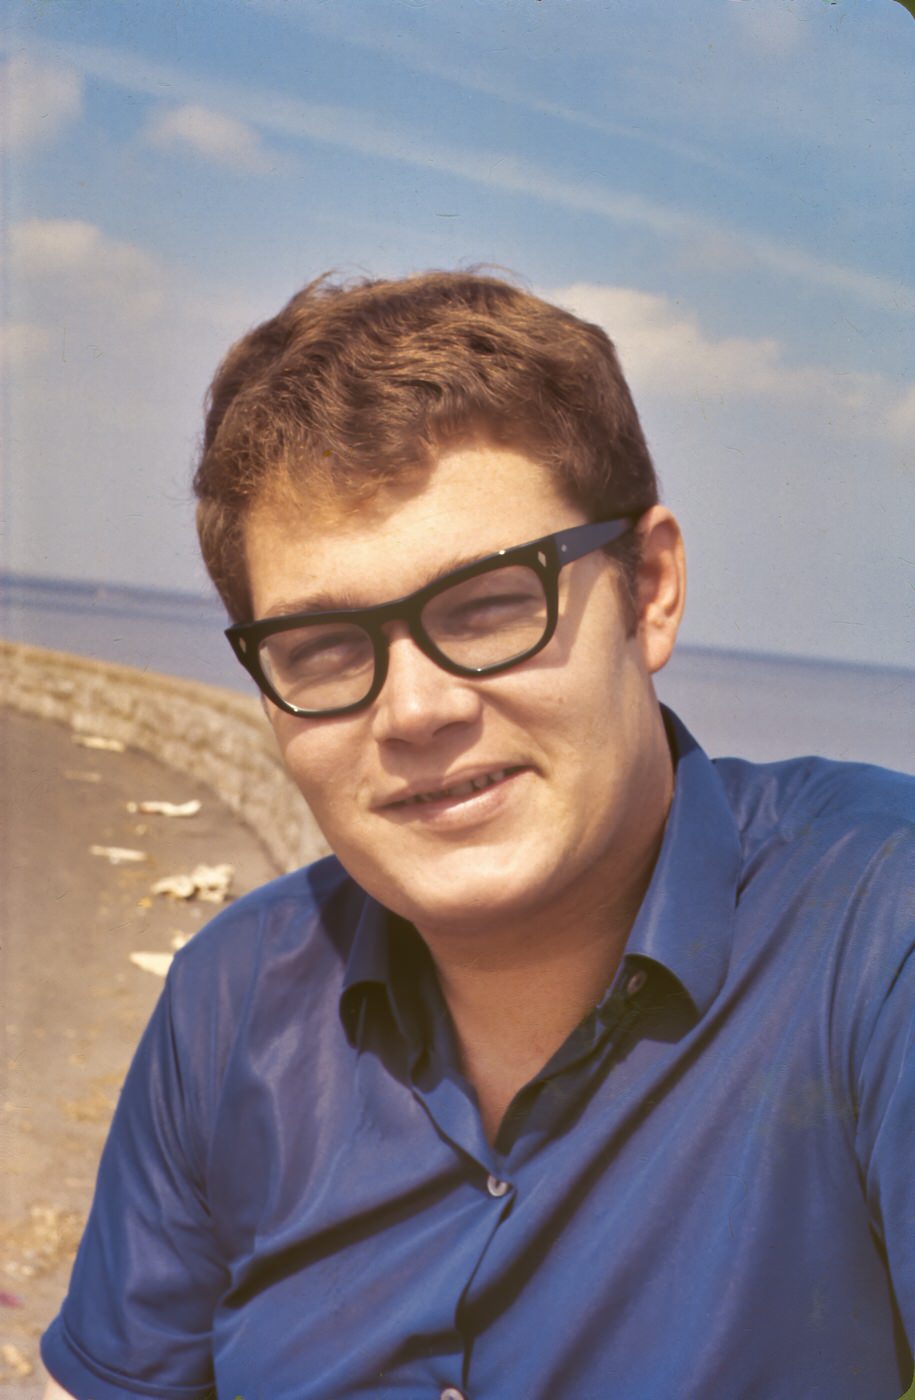
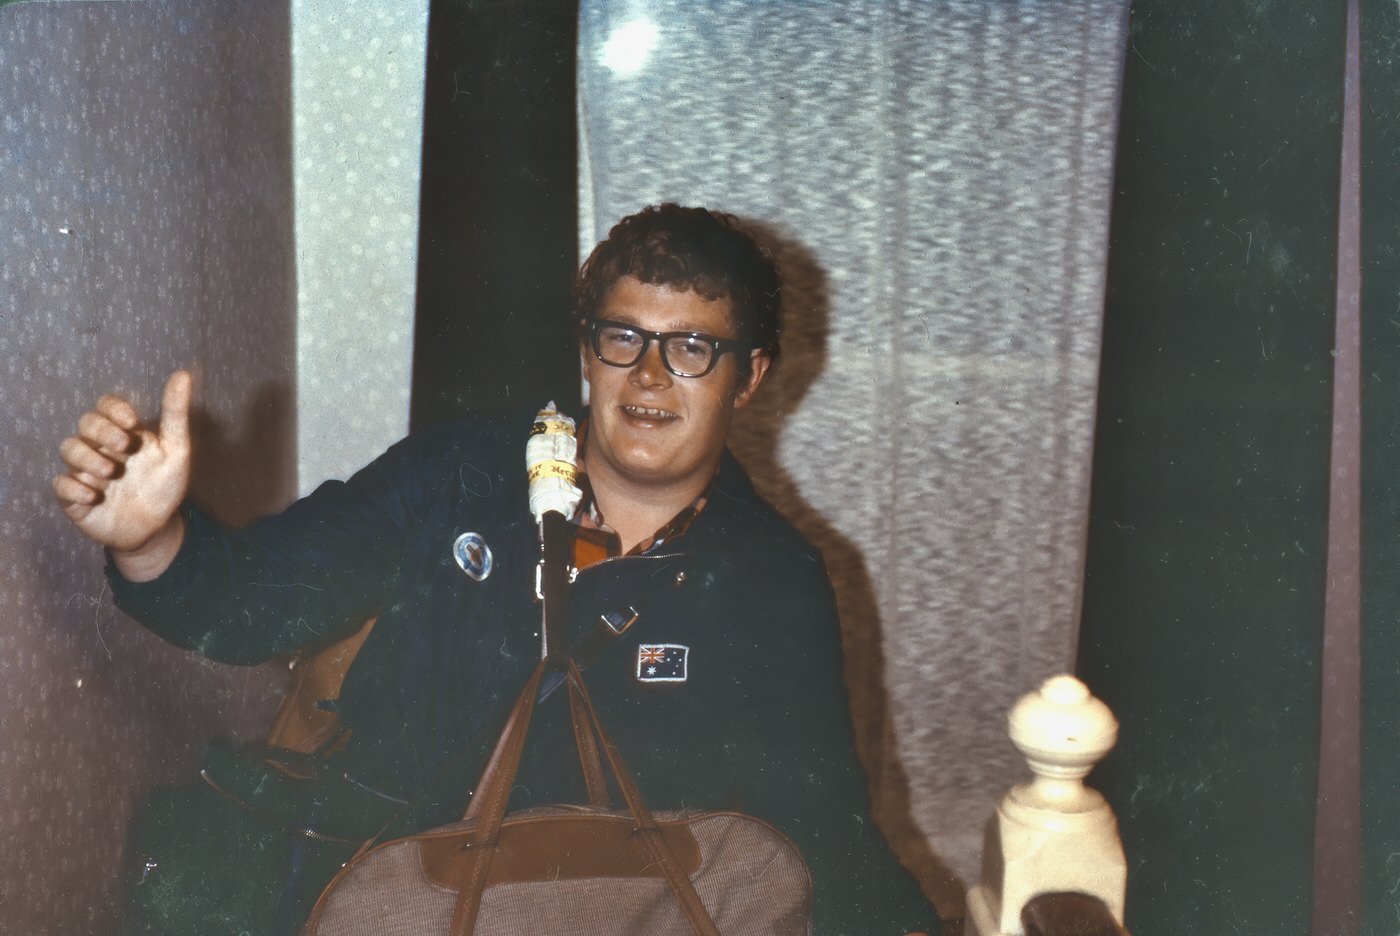
The image with Tony speaking to the driver was a photo I found when helping clean out his unit. It is just an iPhone image of the photo. If you do not recognise a young Tony, it is the image with three people in it and Tony is on the left (last image in list).

EDIT: from Paul Harper:

Wow. I have seen some of these before, but not all of them.

Top left, Dan Gurney – great American driver who started the tradition of spraying champagne on the winners podium. When he won at Le Mans, he no doubt appalled the french organisers by spraying his bottle of champagne over the other winners and anyone else within range! Also invented the little flap on the end of the wing (gurney flap) that greatly increased the downforce produced for very little additional drag. He was a genius engineer as well as a genius driver.

Immediately below Dan Gurney, Jackie Stewart. Nothing more needs to be said.

Also a couple of shots of the late great Graham Hill.

I have seen the pic of Tony talking to Jacki Ickx before. Amazing.

EDIT2: Top right is Karl Jochen Rindt. He was a German-born racing driver who represented Austria during his career. In 1970, he was killed during practice for the Italian Grand Prix and became the only driver to be posthumously awarded the Formula One World Drivers’ Championship. (Source: Wikipedia) His name is on his racing suit!

Driver to the right of Jackie Stewart is probably Pedro Rodríguez de la Vega from Mexico.

Third row left is Mike Spence, Spa 1967. I found a copy of the image Tony put on the web. He was killed in an accident in 1968 at Indianapolis Motor Speedway.

Middle of the top row is Jo Bonnier, Swedish driver. He was killed in the 1972 Le Mans race.

Bottom row, middle image, Guy Ligier, French driver.

Tony Stott – Part 2: European motorsport

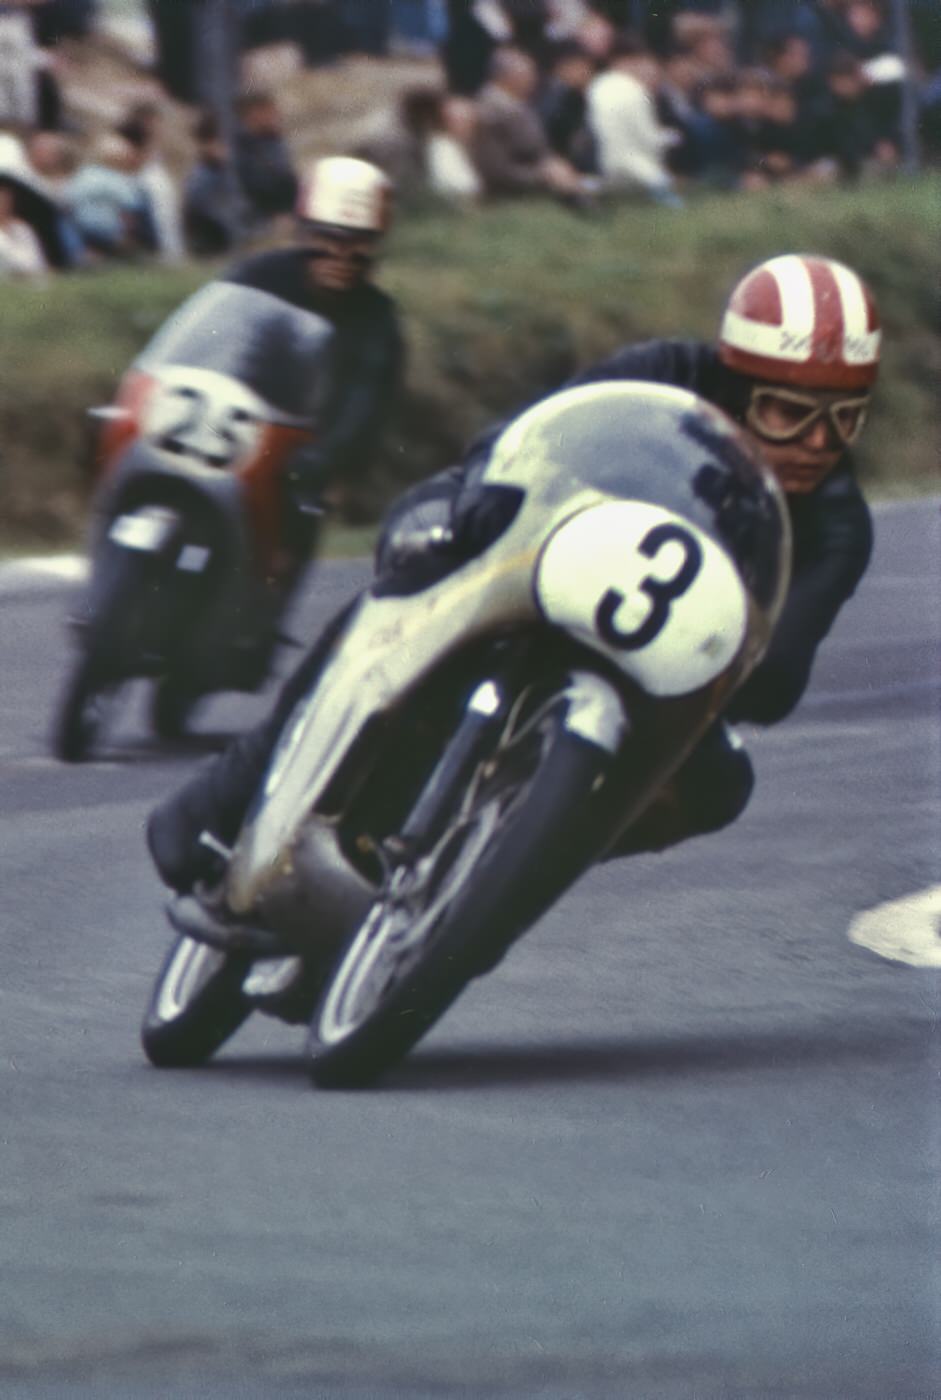
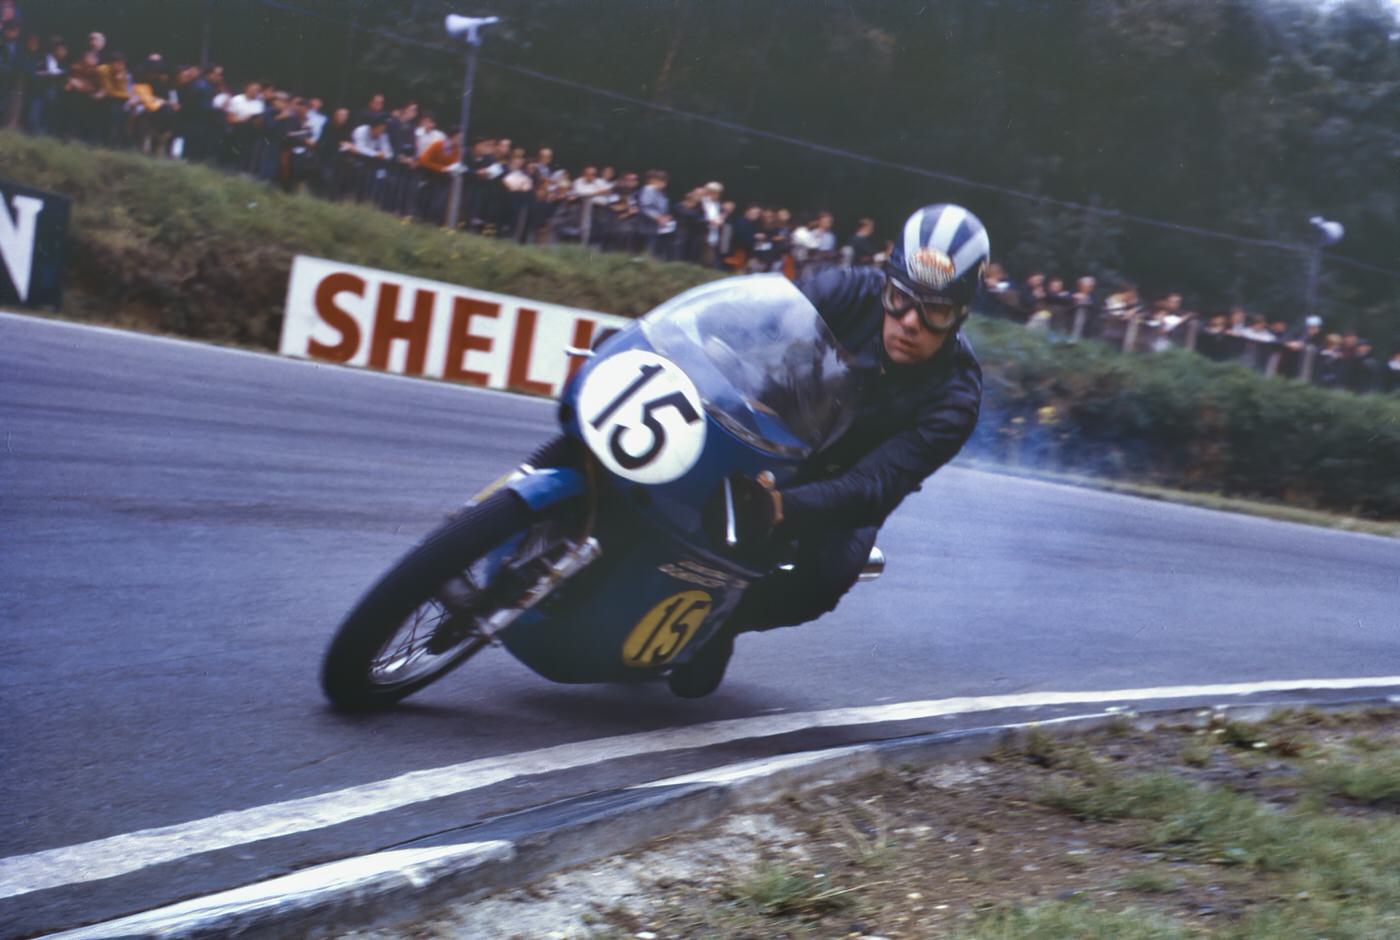
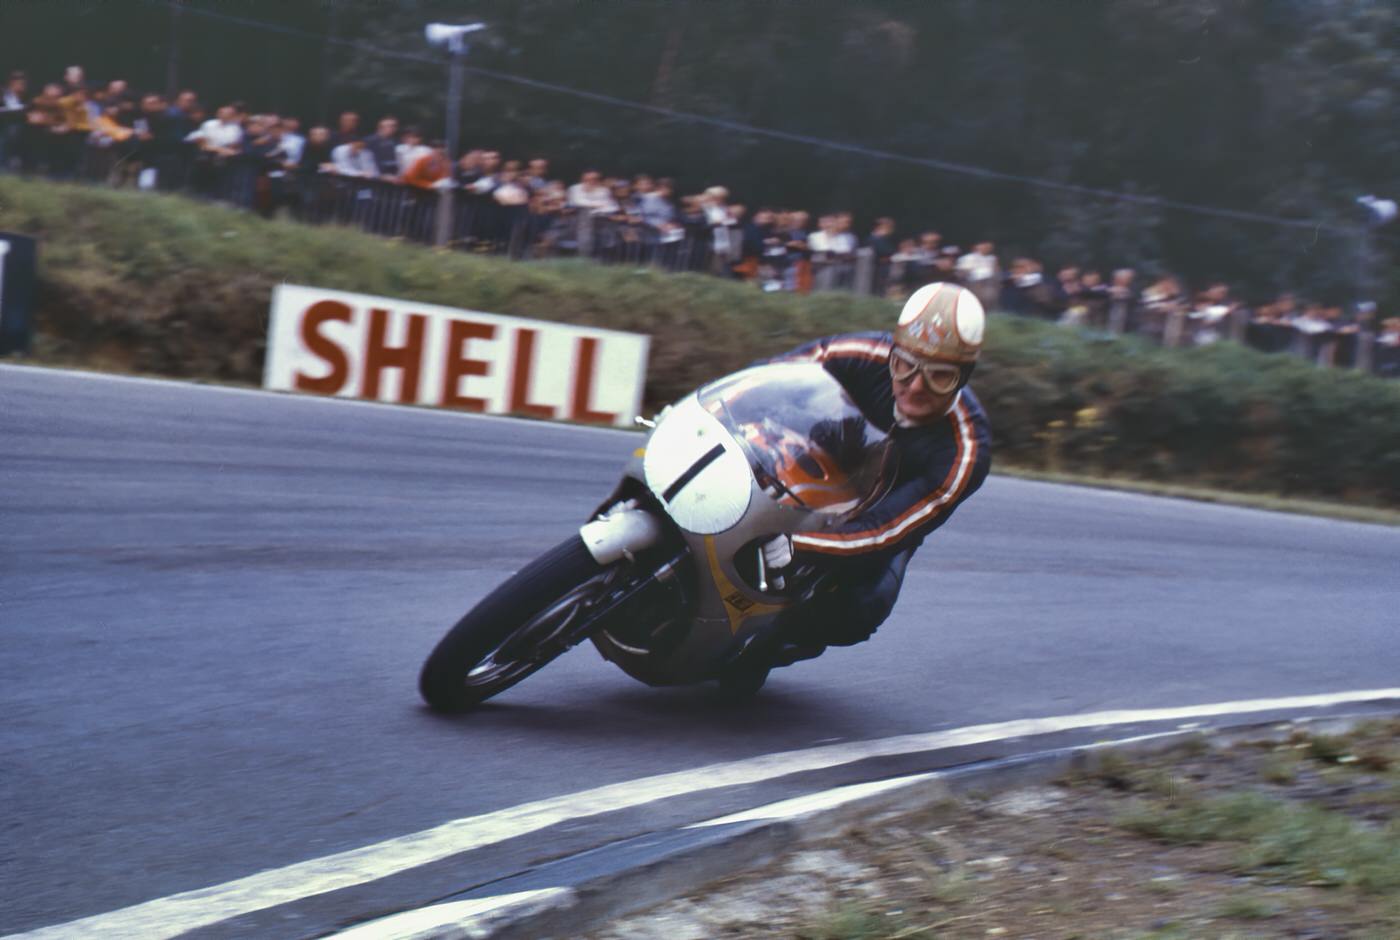
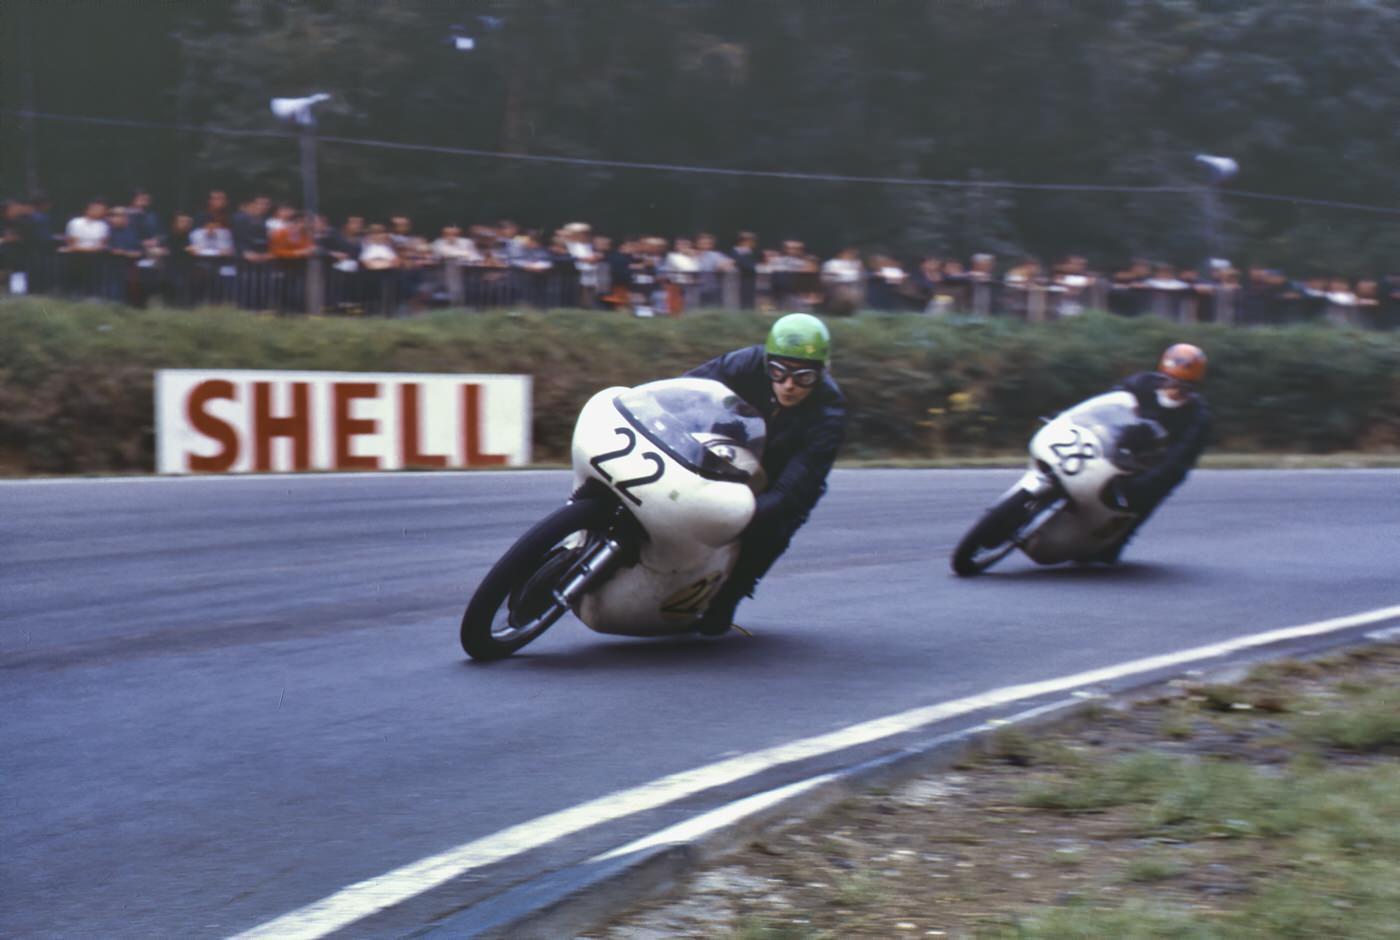
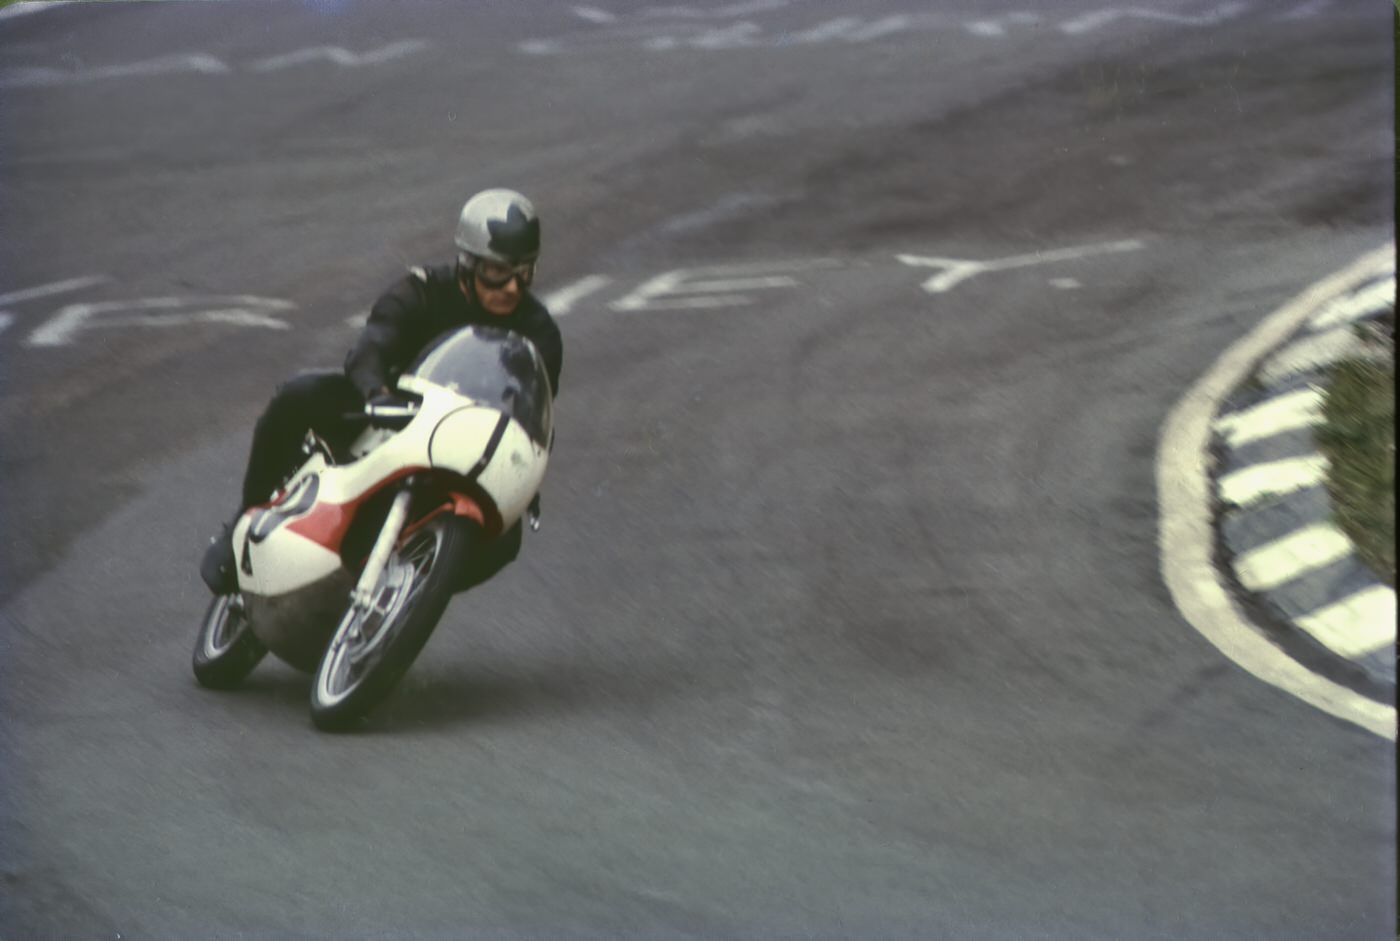
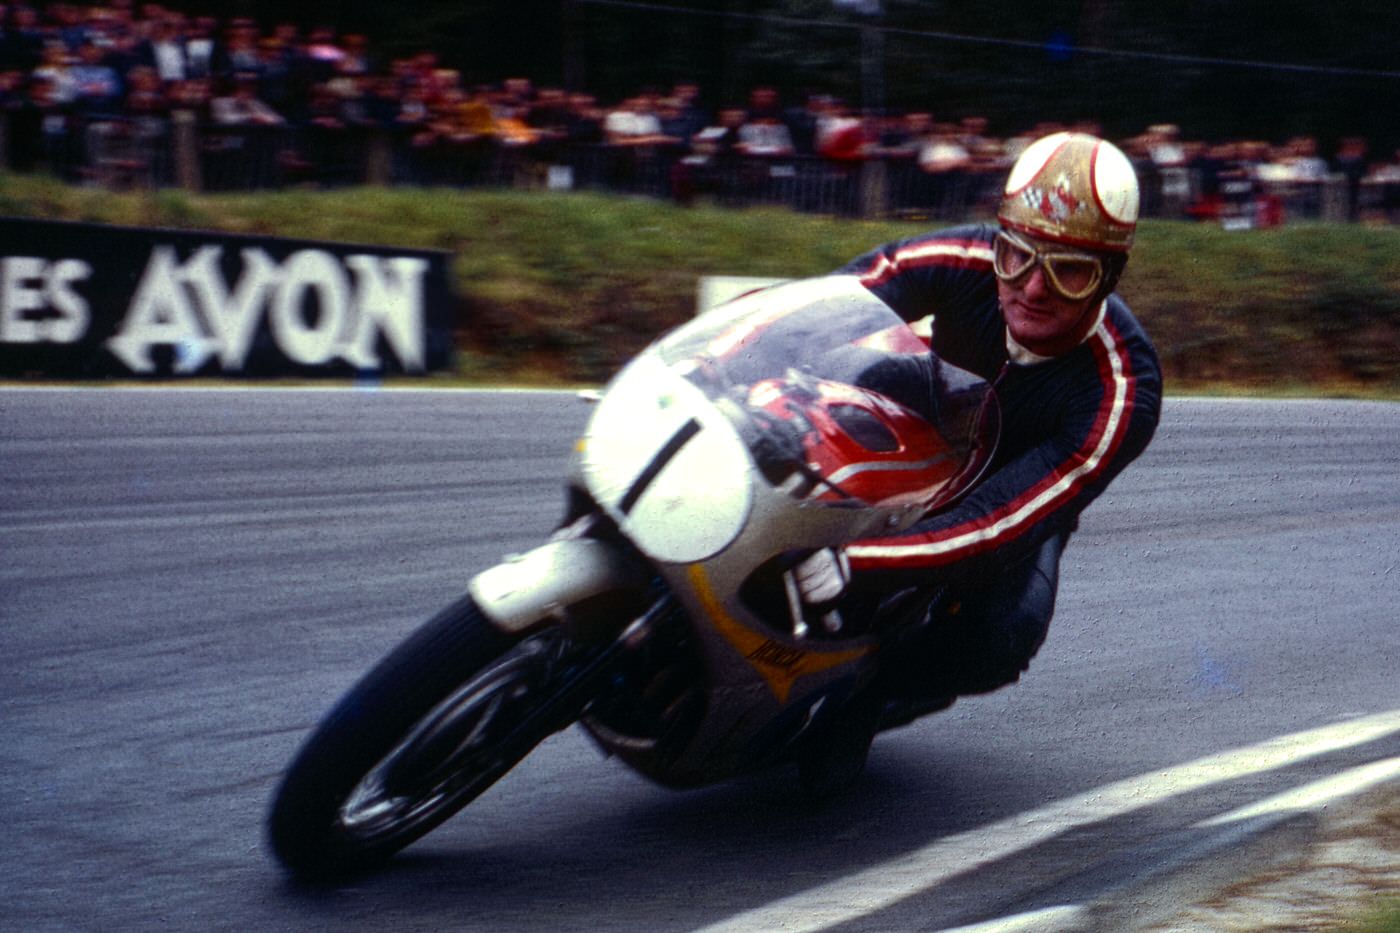
Images Tony took at various motorsport events across Europe. Nick Hutchin’s believes one of those red Ferraris is a very rare variant. EDIT: it is car 24 a Ferrari 330P4, 1967 Le Man`s 24hr, finished 3rd. Thanks Nick.

Unfortunately, Tony misplaced or lost many of his slides, but enough remain to indicate he did have create a rich legacy on his European trip.

The name Englebert plastered all over one of the images was probably the Belgium tyre manufacturer that was big in F1 in the 1960’s. The location is probably Spa Raceway in Belgium in 1967.

You have probably not seen Tony looking so young!

Tony Stott – Part 1: F1 Monaco

A good friend, Tony Stott, recently passed away after a long illness. I will be posting images over the coming weeks in memory of Tony.

I meet Tony through the NSW WRX Club over 20 years ago. We shared a common interest in the WRX and driving more generally. We stayed in contact and often spoke about cars, boats and travel.

I sometimes met up when I drove past Forster going north, more than once at the Nabiac Roadhouse around 1am! I drove into Forster to have lunch every so often.

In 2014 I took Tony on a trip to remote parts of Australia which he enjoyed immensely. I will get to those images later. Let’s go back a few years.

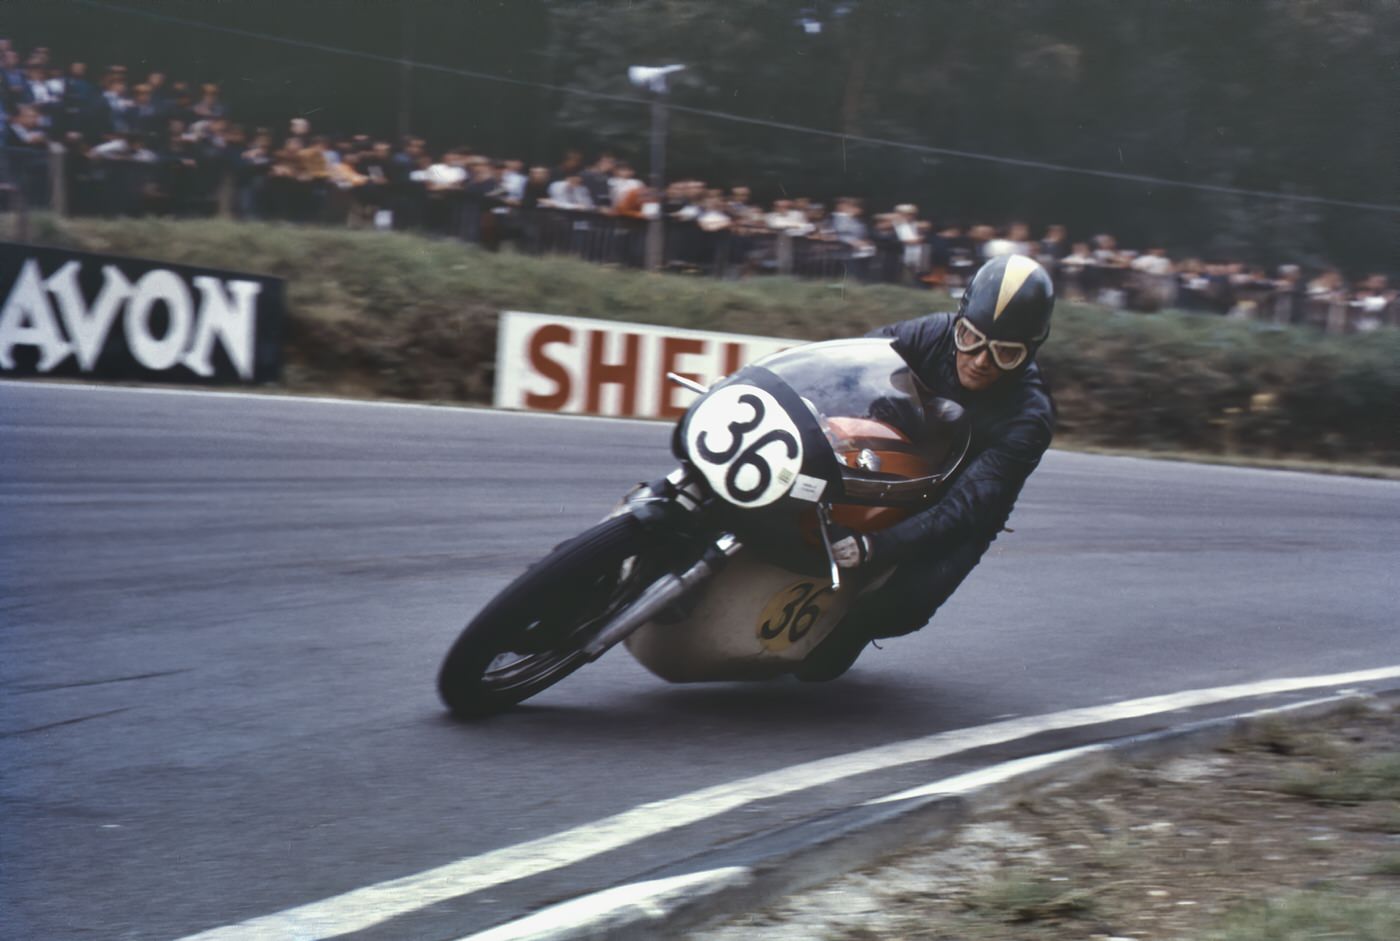
In the late 1960’s Tony travelled to Europe by ship and took images of various races including the F1 at Monaco. Tony took these images curb side with no safety barriers – how things have changed. I scanned those images a few years ago.

In memory of Tony I present some F1 images from Monaco.

Solar panel installed

The Doc had to replace the Patrol’s auxiliary battery charger, with a new Redarc 1225D which has a solar panel input. The Doc purchased a 100w Giant Solar panel (which uses A grade solar cells) and installed it himself on the roof rack, allowing space for the recovery tracks, jerry can and second spare tyre.

The wiring goes along the bottom of the roof rack to the gutter. The wiring then goes down the gutter behind the snorkel (visible on the right), through some body work just in front of the windscreen into the engine bay and plugs into the Redarc 1225D.

The panel is secured by six M10 eye bolts to the roof rack (five are visible in the image below). Six M12 bolts fix the panel to the brackets. The brackets are 4mm thick. The roof rack should come off before the panel ever does!

The panel has been working well and keeping the auxiliary battery topped up, with power to spare. The Doc has been using this extra power to charge various household batteries in the Patrol.

The Doc is now testing battery monitors with their iPhone & Android Apps to get real time data on battery condition. The Patrol’s Autron voltage gauges only work when the car is turned on. It is part of an ongoing project to extend battery life of the Patrol’s starter and auxiliary batteries. EDIT: battery monitor review is here.

Rain on the solar panel