ABNTR4X4 Rock sliders refined
A metallic noise/rattle/squeak developed about one week after the installation of the rock sliders. Luckily before The Doc went on his Outback trip.
The sliders were attached using plates secured by bolts; some bolts were fitted through a drill hole, others through a slot in the metal plate (to allow adjustments). The bolts through the slots were trying to pull the washers through the slot, so the washer became cupped letting the rock slider move.
After the initial install the mechanic had commented the bolts should be longer. After discussing the noise problem with the mechanic, The Doc bought longer high tensile bolts (replacing the OEM galvanized bolts) and large square washers that were also thicker than the OEM washers. After jumping up and down on the sliders after the refit, the mechanic found there was still some noise. On closer inspection there were screws in the body work exposed after the trim was removed to fit the sliders. So metal was still rubbing on metal. The mechanic adjusted the position of the sliders away from the exposed screw heads.
Everything has worked well since the changes and no more issues arose in the Outback trip.
ABNTR4X4 rock sliders are great, but they needed some refinement for Australia (at least for my purposes). First, longer 50mm high tensile bolts. Second, larger and thicker square washers and lastly adjusting the sliders to avoid touching the screws exposed after the trim was removed (you could cut these screws off, but that was not my preferred option).


XHQ Molle Panels refinements – when fitted with 30l diesel tanks
When travelling on intense corrugations the XHQ Molle Panels were being vibrated, creating an annoying noise when the tanks were filled with diesel. The corrugations created a wave vibration in the Molle panel you could see in the rearview mirror. It looked like Rolf Harris was using it as a wobble board!
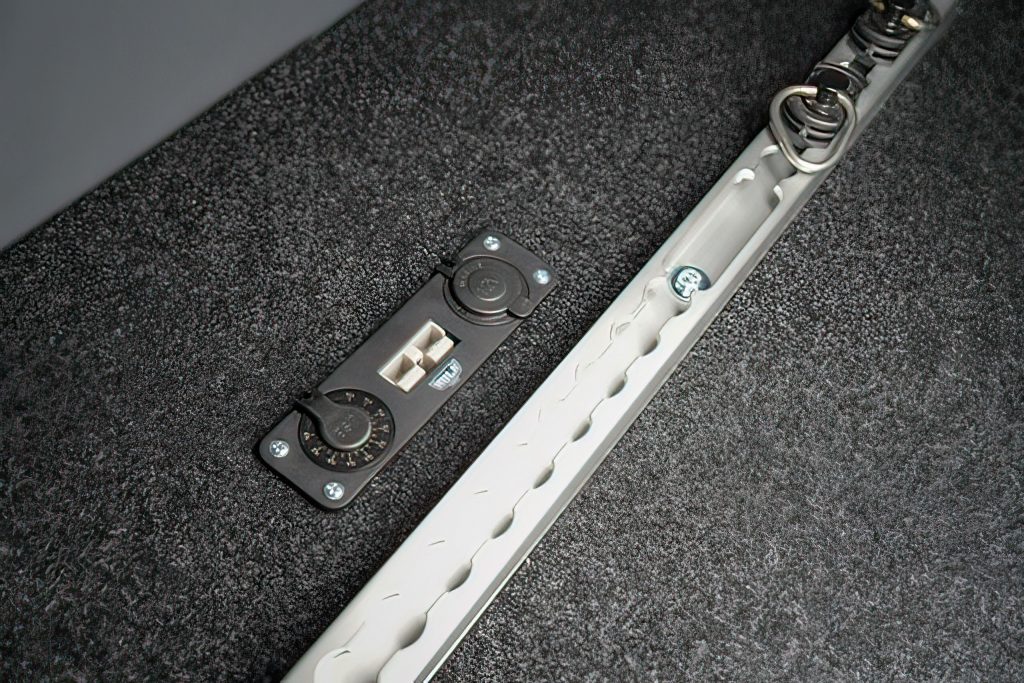
Additionally, two of the four washers down on the L track attachment points were not sitting flat over the Molle panel slot (sound familiar?). One washer had dug into the side of the slot on the Molle panel. I upgraded the L track bolts from M8 bolts to M10 bolts. I also used bigger and thicker washers. The upgrade has fixed the noise around the city, but no testing on corrugations so far.

Rear Bracket – passenger’s side
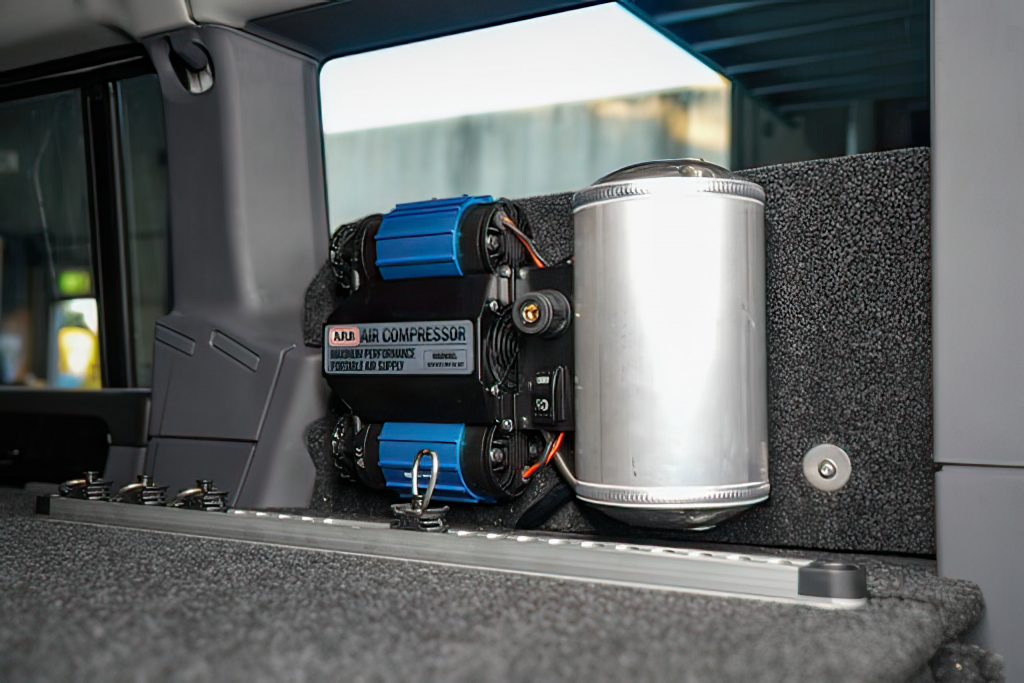
My dual air compressor was attached to an ORS custom bracket on the driver’s side. I decided to get a matching bracket on the passenger’s side. ORS made the bracket and covered it in marine carpet. This allows me to use canvas bags with a carpet grabber to configure what to store on the bracket.
The bracket also creates a storage area between the bracket and the rear window for storage.
Below are images of the new bracket and the carpet grabber bags I have on order. These can be easily reconfigured depending on my needs.
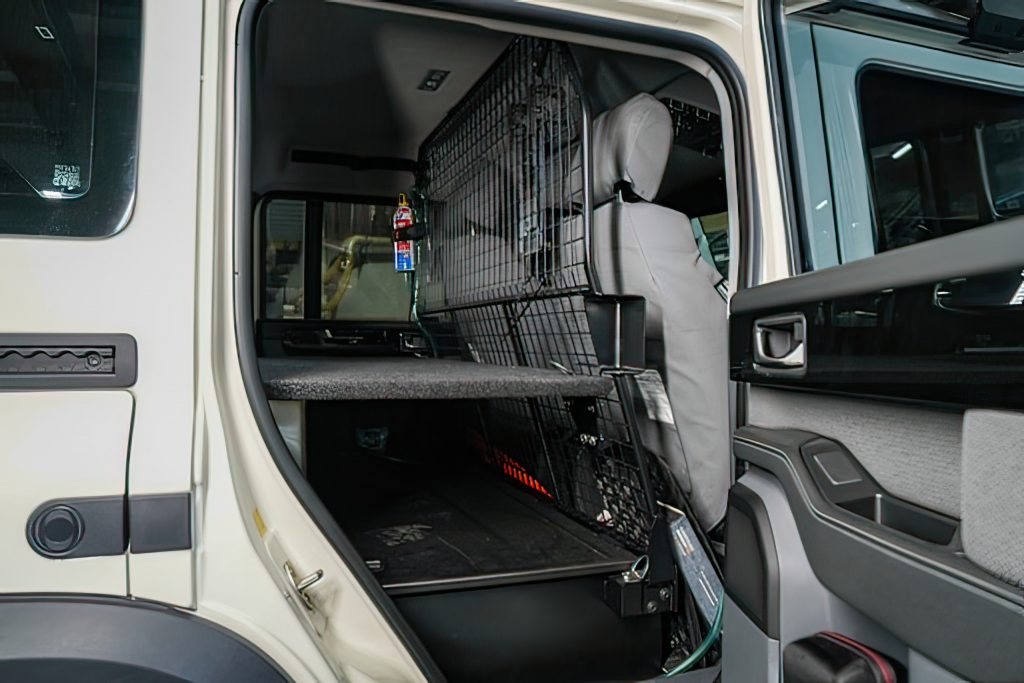
I also reconfigured the driver’s side storage area with my AED device, new First Aid Kit and a storage bag. The distance between the windows and brackets is slightly different between the two sides – because the plastic wheel arch trim on each side. The AED and First Aid Kit were a better fit on the driver’s side (RHD).


You must be logged in to post a comment.