A guide to bootlace ferrule crimps has been added, click here.


A guide to bootlace ferrule crimps has been added, click here.

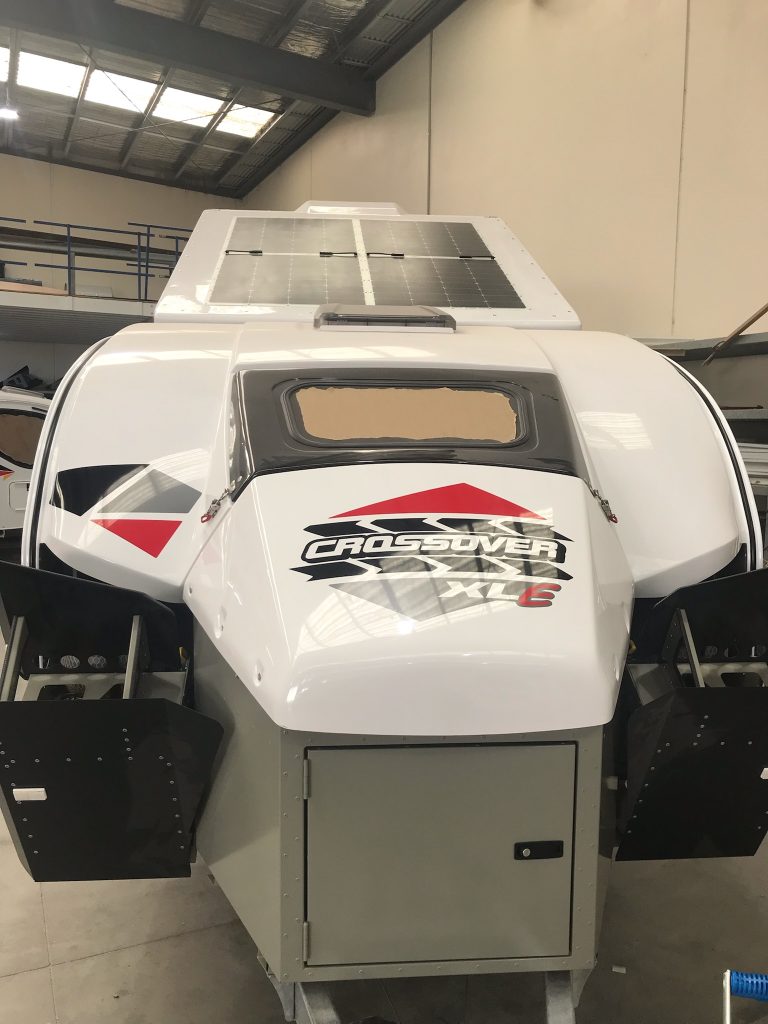
The Doc’s new hybrid offroad caravan is nearly ready – just a shelf to be made and installed. Photos were supplied today of the van.
Electrics controlled by a REDARC TVMS with the REDARC Rogue added on for more circuits. 645W of solar panels, 400Ah of Lithium batteries and a 3000W REDARC Black Alpha inverter. It has the air suspension option as well. Tyres match the Grenadier, BF Goodridge KO2’s. Plus red go fast stickers. External kitchen with a small internal kitchen. Fridge can be used internally and externally (it is on draw).
The model name XLE signifies external fridge, verse XLI for internal fridge.
The Doc will install his JOOCLA Shower into the van.
Enjoy (The Doc is!).


WHAT YOU NEED
Laws in News South Wales and WA require lightbars to be fitted to the underside of the Roo Bar hoop, not above it. You have much more flexibility if you can mount it above the Roo Boo, but at increased risk to pedestrians.
FITTING
The Single Row Viper Lightbar lines up nicely with the grille cross support to minimise disruption to the air flow.
ANOTHER OPTION: If you do not have a winch, fitting the 20-inch Viper down on the bumper would be another option. Or if you do have a winch, be very careful about drilling holes in the bumper. The end brackets could be used for mounting in this position.


20-inch Lighftforce Viper LED lightbar installed today. Images below, the pictures were taken after the lightbar was attached, but it was not wired up and the blue protective film was still over the lens. A detailed install guide will be posted.


The Doc has been working on a little project for a few weeks now. He finds out tomorrow whether it will work.
He was going to install a 10-inch low profile LED Lightbar under the top loop of the Roo Bar (in NSW it is illegal to mount then above the Roo Bar – even though people do it).
After some research his is now trying to mount a 20-inch lightbar there instead– it will either just fit or not fit. It is so close we need to do an actual test fit.
He needed low profile mounting brackets, which he now has and has done a test bracket fitting. The Doc had worked out 3 ways to mount the 20-inch lightbar to the bracket, but after the test fitting 2 of those ways will not work. All 3 should work with a 10-inch lightbar. Power will come from the 10 amp bonnet circuit, with some other wiring.
The Doc did not want my mounting brackets or lightbar to be an additional pedestrian risk, so everything must be behind or inline with the Roo Bar. When mounted, the Roo Bar slopes backwards from the bumper.
When he visits ORS tomorrow, we will try and fit the 20-inch lightbar, the worst-case scenario is we fit the 10-inch lightbar instead.
The Doc could not find many 15-inch lightbars with the right profile – he found one with a hefty price tag (over twice the price of the one he is buying). The Doc wants to reduce any interference with air flow to the radiator, so options are limited to single row, low profile lightbars.
The Doc could probably mount the 20 inch lightbar down of the bumper, but with a winch installed, he does not want to drill holes or have bolts in the bumper anywhere near the winch.
Things done recently:
1. The Doc and his brother installed the rear roof shelf over the weekend and The Doc has been experimenting how to pack the shelf. At present, he is using it to store the Solar Screens, air compressor equipment, Nakatanenga rear Door Air Vents and the Blacksmith Camping firewood carrier. Minimal loss of rear vision due to the shelf.
Here is a photo – the Travel Buddy Oven will be installed on the left side under the shelf after The Doc fits the Anderson plug to the oven.

2. The bed extension is removed while ORS makes some refinements to the design. It did allow me to easily fit the BLE Battery Monitor to the main battery today.
3. The Bushman Fridge arrived for the Grenadier and The Doc gave the courier a guided tour of the car. 🙂
4. The Doc installed the rear Firestryker extinguisher next to the air compressor cylinder. Brian from ORS suggested the location; and I thought it was a good suggestion, so I used it. You can see the air compressor bracket created a little space between it and the window that I can use for storage. Still working out what to put there. In the image there is a red Drifta Power Towel Dispenser and the other canvas bag has a 240 volt extension cable. When camping I can hang the Drifta towel dispenser from the roof shelf. That worked out nicely! Finally, the tie down rings will be re-installed where you see the bolt and washer on the bracket, so I can use the raised tie down points on both sides of the car.


Image from Drifta website.
TRAVEL BUDDY OVEN
Tasks today:
1. Wired the 50-amp Anderson plug to the Travel Buddy Oven. Fitted the KAON insulated door to the oven.
2. Fitted the KAON Travel Buddy mounting brackets to the rear roof shelf. The backing plates had been wrapped in black fabric tape to stop any rattles and let the backing plates blend into the shelf.
3. Fitted the Travel Buddy oven to the KAON brackets.
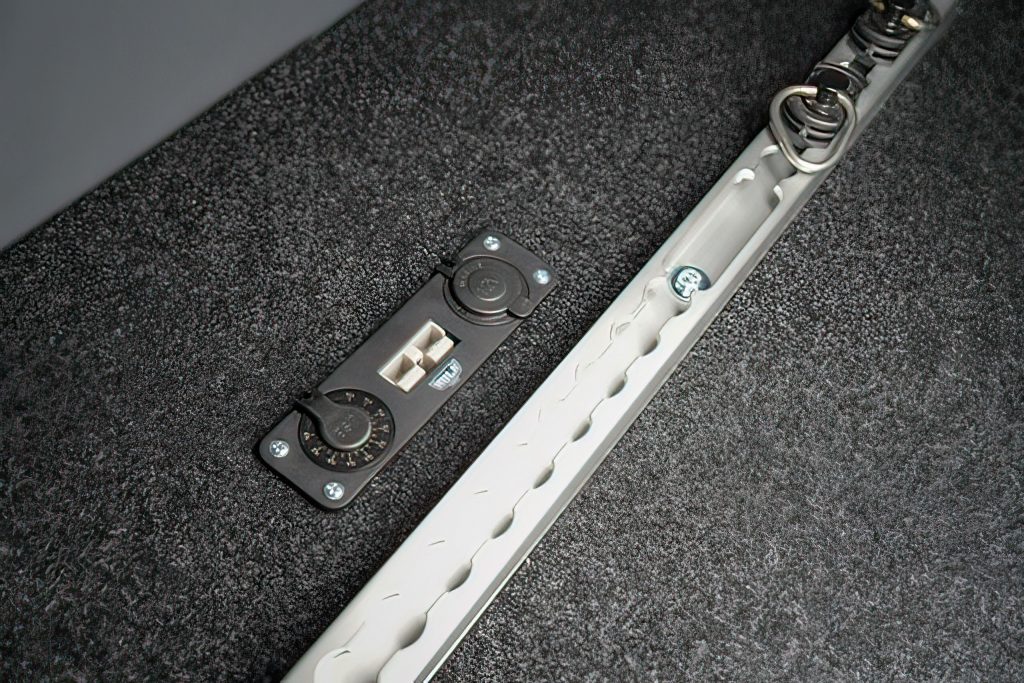
4. Plugged in and tested the oven – all working! The oven can be plugged into the rear power outlet shown below.
5. Placed spit tubing over the power cable to protect it, then tidied up the run of the power cable to the power outlet. When not in use, the Anderson plug is velcroed to the roof shelf.
6. After fitting the Travel Buddy, the driver loses some rear vision, but it is limited to part of the small rear door on the passenger’s side (RHD).

POWER TO THE CAR TRACKER
7. Used my rear power outlet to recharge the car tracker battery, which normally lasts around 6 months. Worked out how to lay permanent power to the tracker, if needed.

REAR JACK
8. Removed the jack and stowed it in the rear drawer. The jack keeps working loose.
The build is coming together nicely now.
TRAVEL BUDDY NOT PART OF THE ORIGINAL BUILD
The Travel Buddy was never part of the build, until The Doc fitted the rear roof shelf and thought of this upgrade. It offers some great options when driving around for better meals. When driving long stints The Doc tends to eat take away, now he can cook my own food.
TO DO
Building the fridge slide is the next to do. After that a visit to Expedition HQ for the final work and then off the remote Channel Country in South West Queensland and the dinosaurs in June.
MAYBES
Rocks sliders/steps and maybe a small front LED lightbar on the Roo bar. Still thinking about a Redarc EGT and Boost gauge as well. EDIT: rock sliders and a 20 inch Viper lightbar were installed, see separate posts.
UPDATE
The Doc just did a short trip with an empty oven on. The Doc will place some insulation over the top of the oven, between the oven and the roof shelf. He wants to minimize heat transfer to the shelf. He is glad he did this test before using the oven in anger for 2-3 hours, there was more heat and heat transfer than he was expecting.
The Doc thinks over time the heat transfer to the shelf needs to be monitored. Reminded once again why The Doc does a shake down test after an install. A few tweaks and she will be good to go.
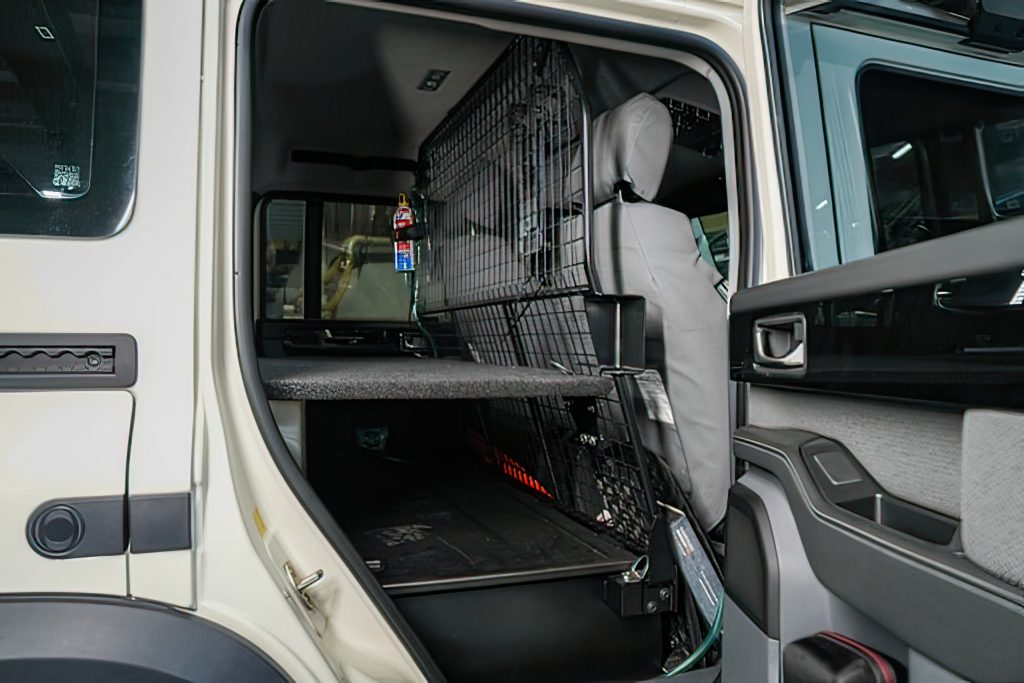
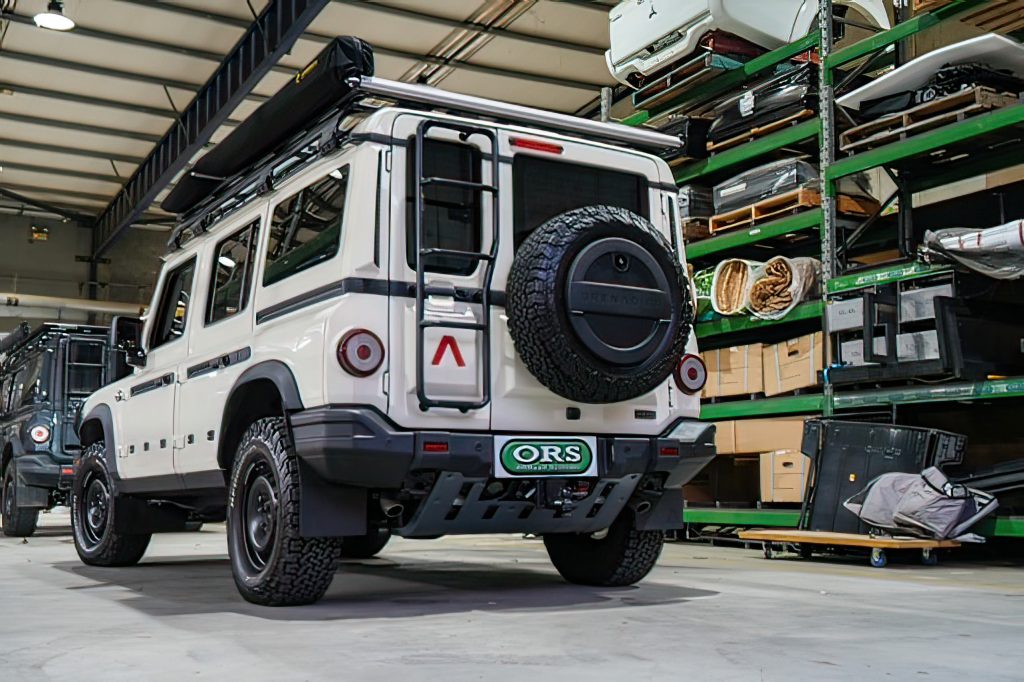
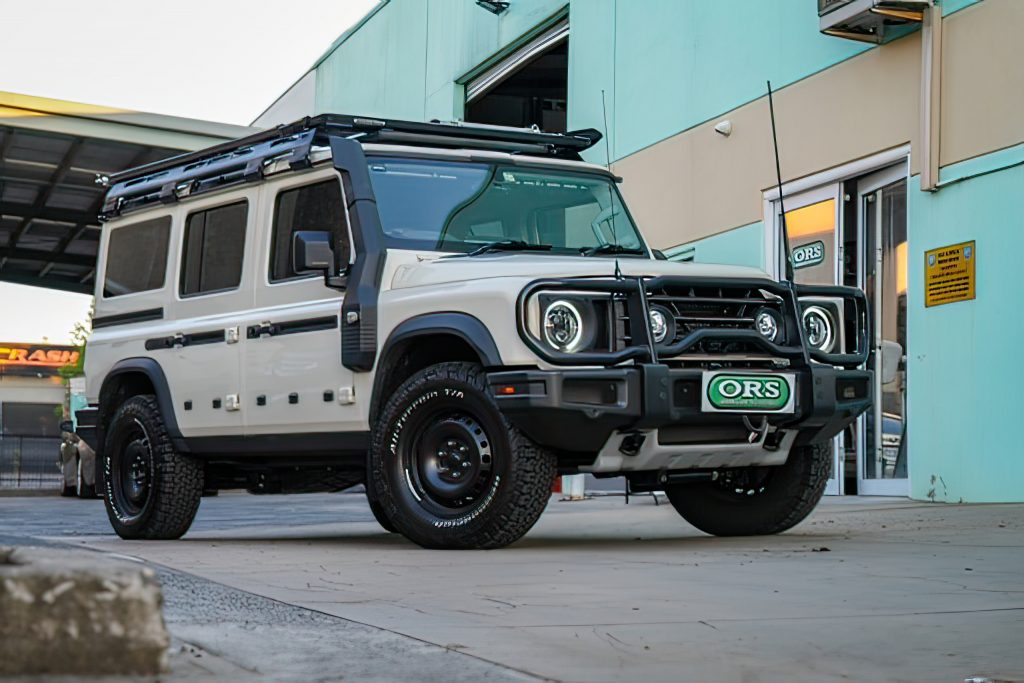
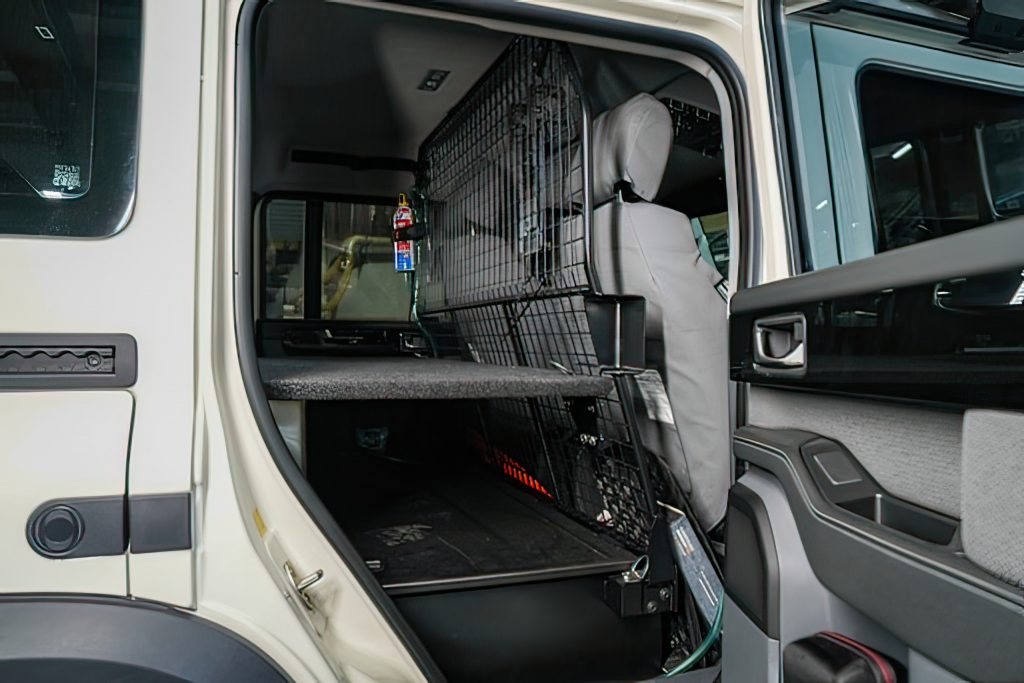
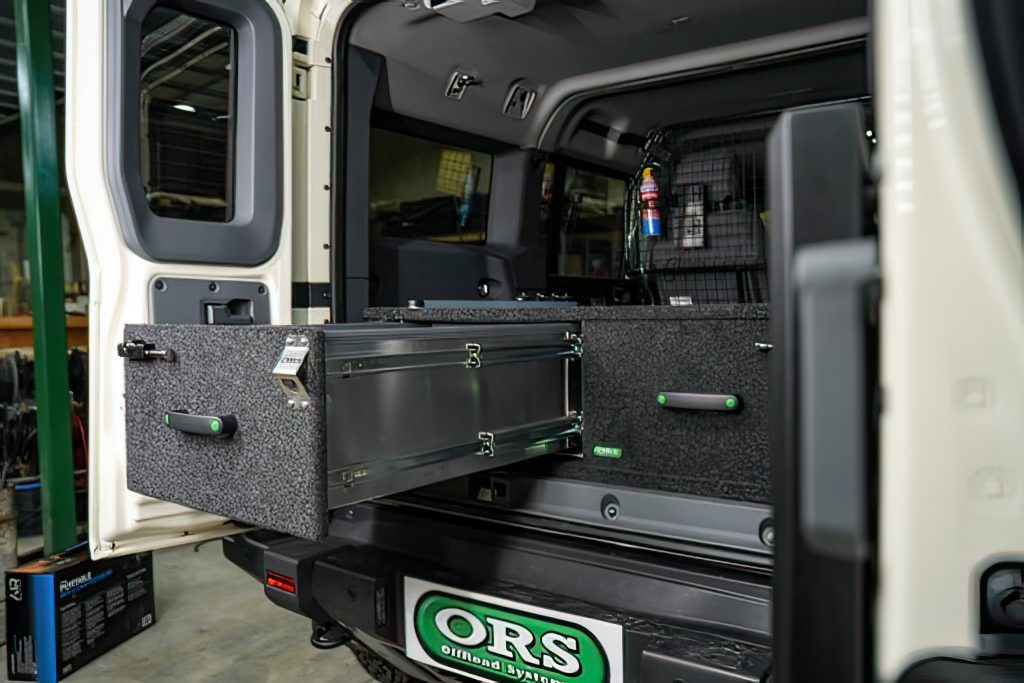
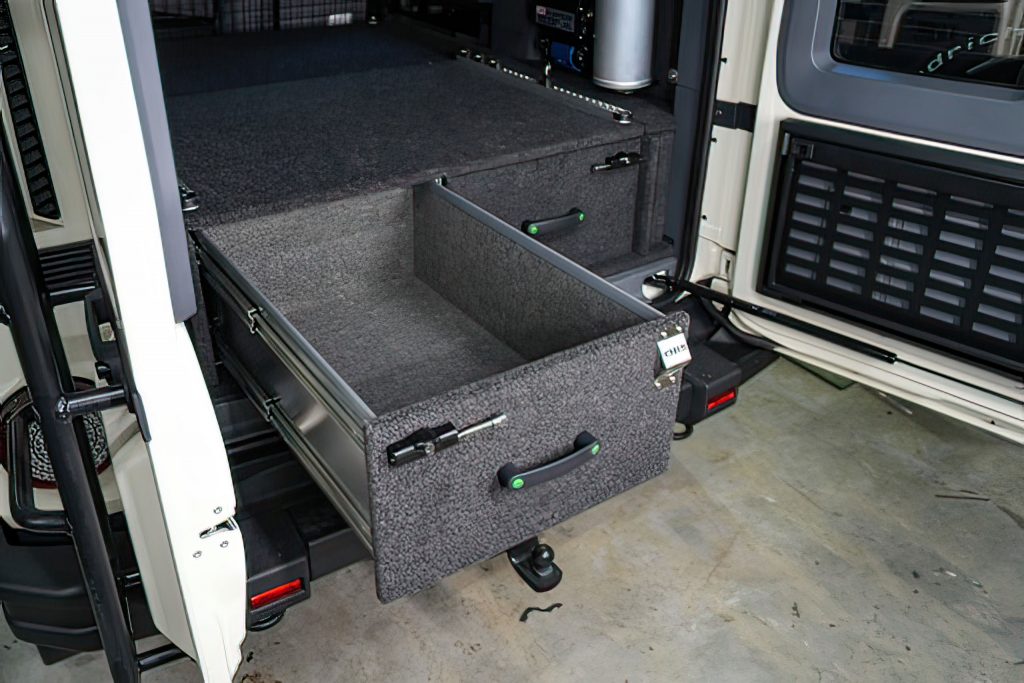
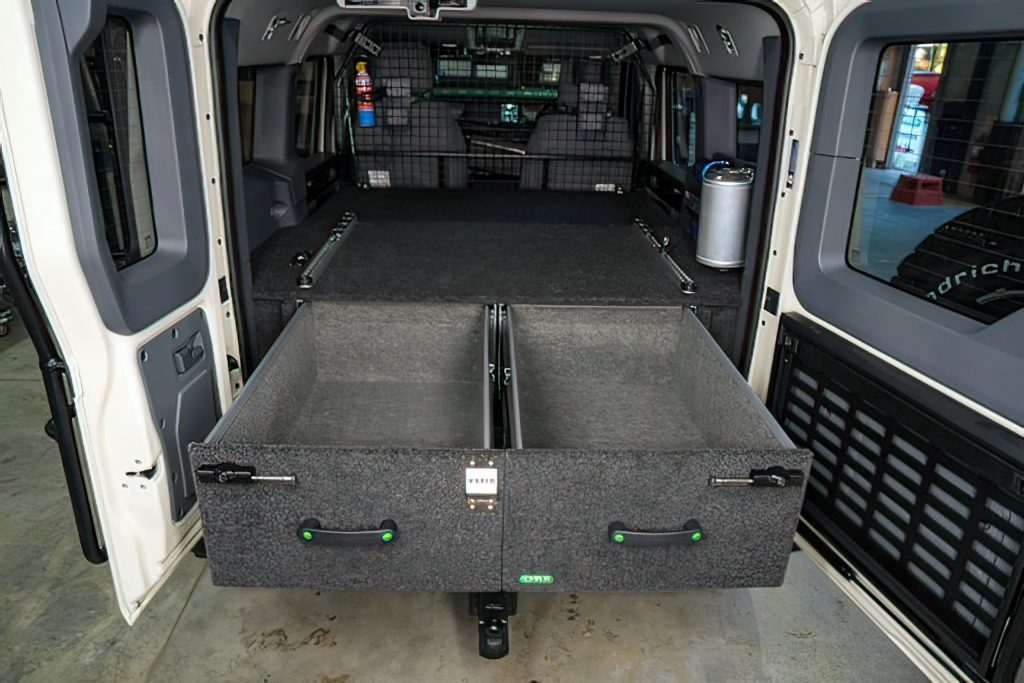
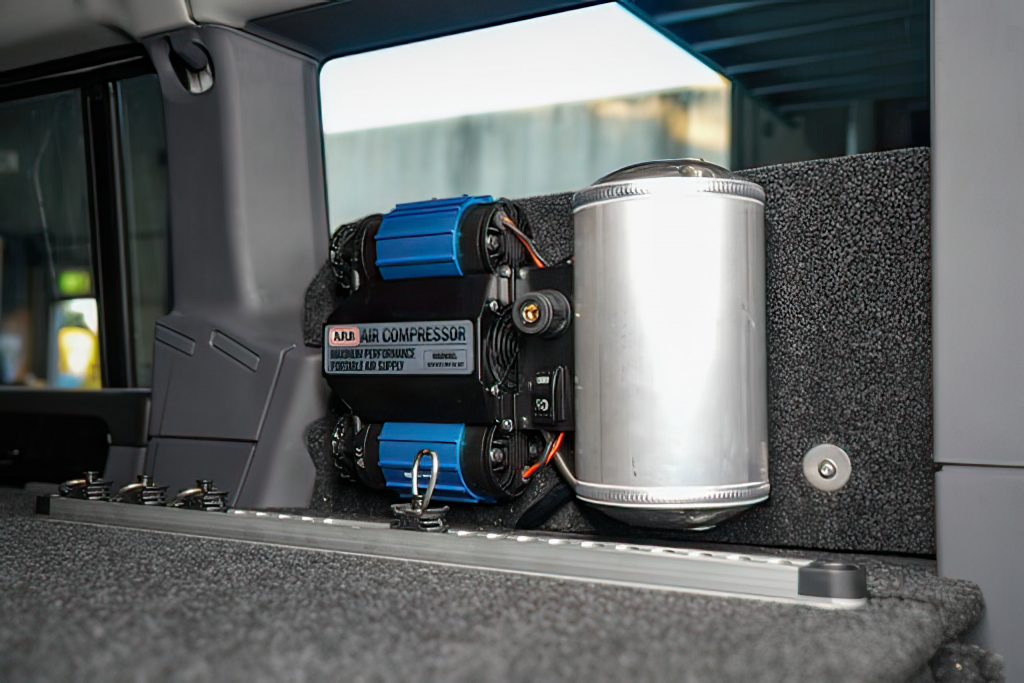
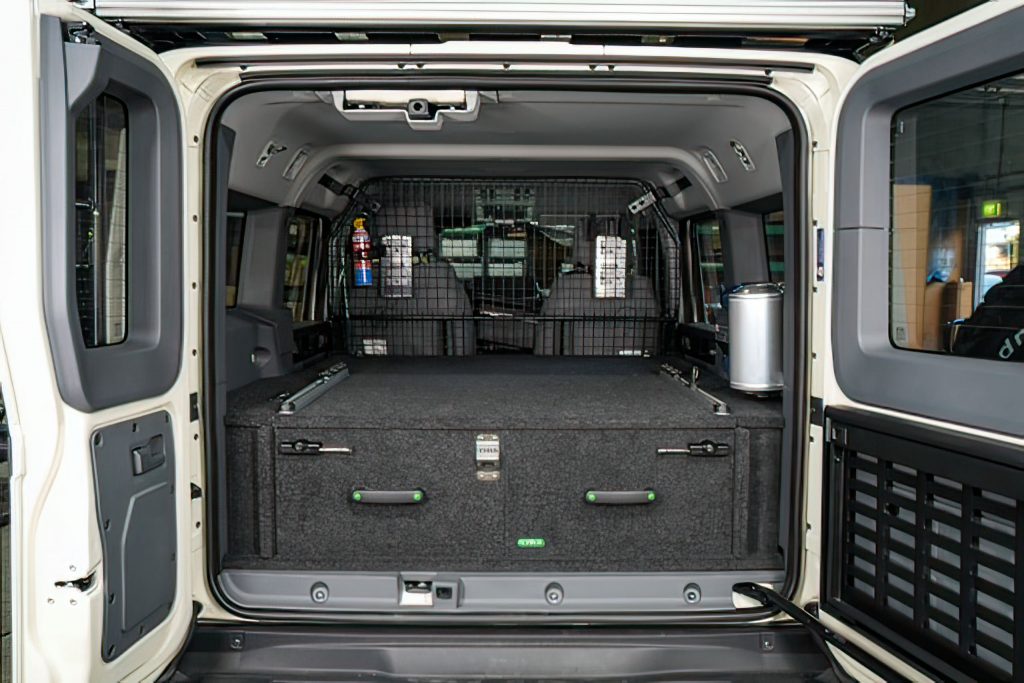
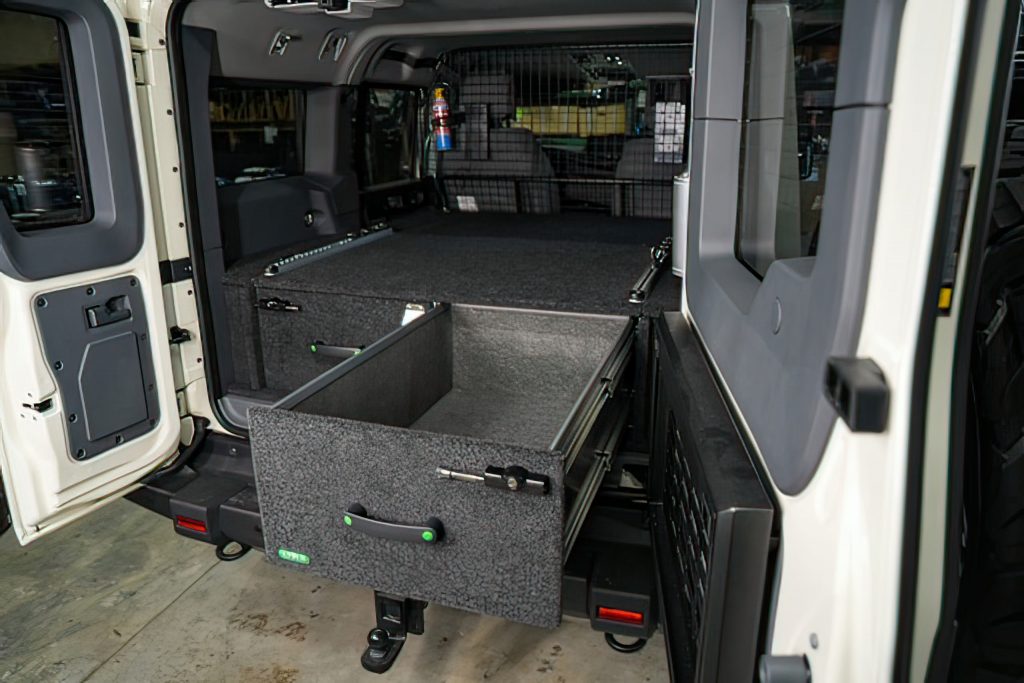
Offroad Systems (ORS) twin drawers, water tank, bed extension and ARB twin compressor are now installed.
The Doc wanted air flow around his compressor, so it was mounted on brackets over the driver’s side rear wheel arch. Trivia: there is a global shortage of twin ARB air compressors due to a surge in demand. ORS sourced the Portable Twin compressor and mounted that to the bracket over the wheel arch. That is why it looks so much like a twin portable compressor – because it is one. The compressor’s power cable was attached to the Grenadier’s spare stud on the 5 stud busbar (the supplied cable was not long enough to reach the spare on the 7 stud busbar). I sourced an 80 amp ZCase fuse, as the ARB has twin 40 amp MAXI blade fuses. The Sparky cut off the two MAXI fuses and ran the cables straight to the80 amp ZCase fuse.
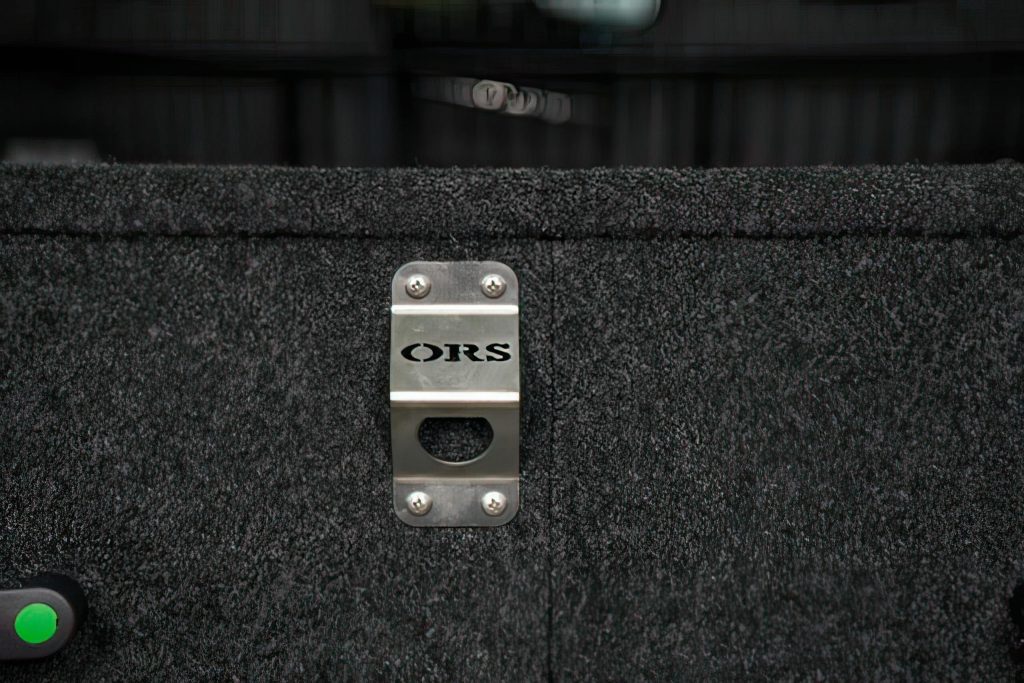
Globalgregors inspired The Doc to add the bottle top opener on the drawers and go for a deeper drawer than originally planned, after he saw their finished setup.
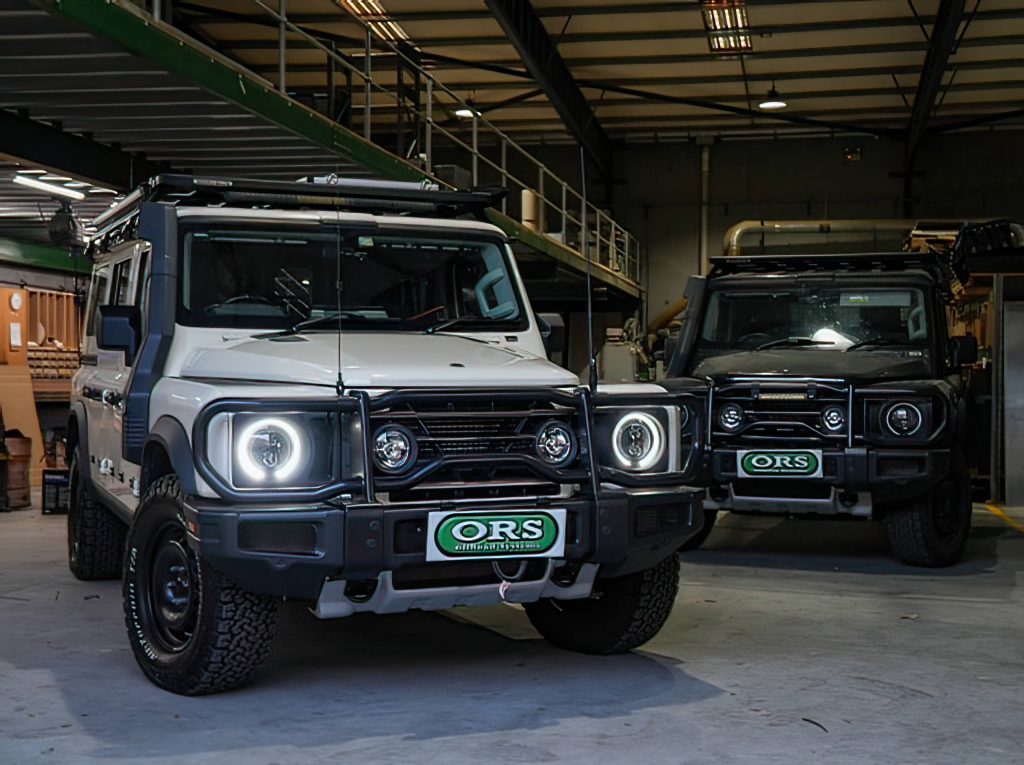
There was another INEOS in simultaneously getting work down, and ORS asked if they could keep The Doc’s car an extra day and have their Pro Photographer take pictures of both (see some of those images below).
The rear roof shelf has been installed and will be covered in the next update.



Some fitout trivia:


Images from the Offroad Systems fitout. Description of the fitout here.







You must be logged in to post a comment.