A guide to bootlace ferrule crimps has been added, click here.


A guide to bootlace ferrule crimps has been added, click here.
WHAT YOU NEED
Laws in News South Wales and WA require lightbars to be fitted to the underside of the Roo Bar hoop, not above it. You have much more flexibility if you can mount it above the Roo Boo, but at increased risk to pedestrians.
FITTING
The Single Row Viper Lightbar lines up nicely with the grille cross support to minimise disruption to the air flow.
ANOTHER OPTION: If you do not have a winch, fitting the 20-inch Viper down on the bumper would be another option. Or if you do have a winch, be very careful about drilling holes in the bumper. The end brackets could be used for mounting in this position.


XSPEC Molle panels with diesel fuel tanks installed today. One on each side. XHQ also solved the electrical problem, fixed it and found a new wiring issue with the recent 20 inch LED lightbar install (glad The Doc asked them to look the lightbar over). It was a quick fix.
The electrical problem was caused when the dashcam was installed by my installer. It did not affect the dashcam but a fuse for the Power ON switch on the roof panel. Now all fixed. That explains why the all aux power circuits where down, the ON switch was not working, due to the blown fuse.
Everything now working as it should. Final niggles gone.
You can also see the JOOCLA Ensuite mounted on the driver’s side of the car, above the diesel tank.

Things done recently:
1. The Doc and his brother installed the rear roof shelf over the weekend and The Doc has been experimenting how to pack the shelf. At present, he is using it to store the Solar Screens, air compressor equipment, Nakatanenga rear Door Air Vents and the Blacksmith Camping firewood carrier. Minimal loss of rear vision due to the shelf.
Here is a photo – the Travel Buddy Oven will be installed on the left side under the shelf after The Doc fits the Anderson plug to the oven.

2. The bed extension is removed while ORS makes some refinements to the design. It did allow me to easily fit the BLE Battery Monitor to the main battery today.
3. The Bushman Fridge arrived for the Grenadier and The Doc gave the courier a guided tour of the car. 🙂
4. The Doc installed the rear Firestryker extinguisher next to the air compressor cylinder. Brian from ORS suggested the location; and I thought it was a good suggestion, so I used it. You can see the air compressor bracket created a little space between it and the window that I can use for storage. Still working out what to put there. In the image there is a red Drifta Power Towel Dispenser and the other canvas bag has a 240 volt extension cable. When camping I can hang the Drifta towel dispenser from the roof shelf. That worked out nicely! Finally, the tie down rings will be re-installed where you see the bolt and washer on the bracket, so I can use the raised tie down points on both sides of the car.


Image from Drifta website.
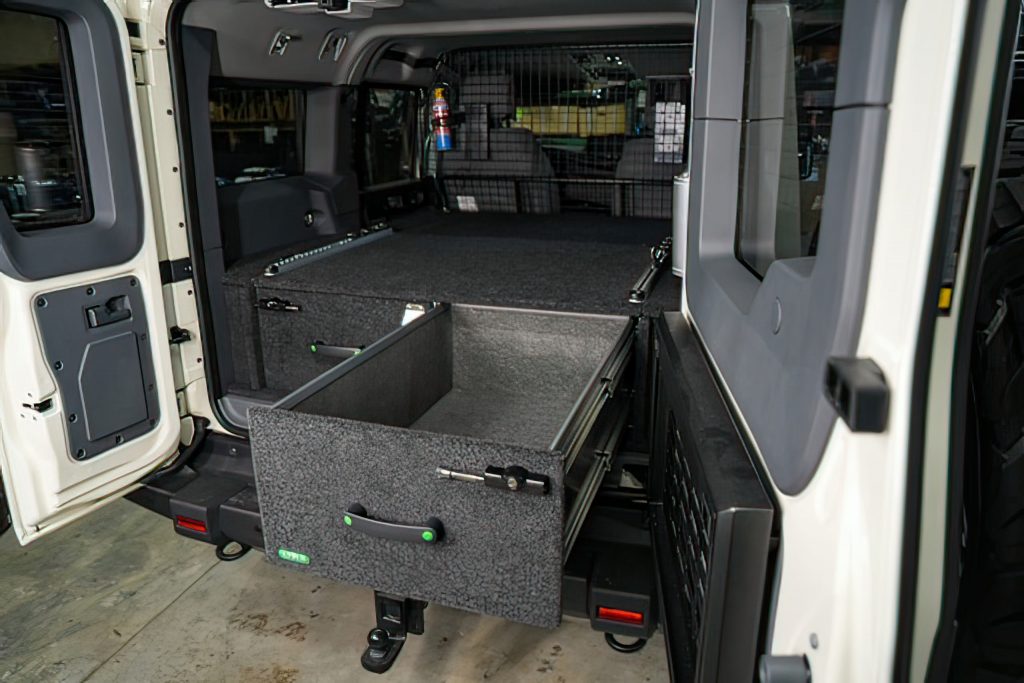
Offroad Systems (ORS) twin drawers, water tank, bed extension and ARB twin compressor are now installed.
The Doc wanted air flow around his compressor, so it was mounted on brackets over the driver’s side rear wheel arch. Trivia: there is a global shortage of twin ARB air compressors due to a surge in demand. ORS sourced the Portable Twin compressor and mounted that to the bracket over the wheel arch. That is why it looks so much like a twin portable compressor – because it is one. The compressor’s power cable was attached to the Grenadier’s spare stud on the 5 stud busbar (the supplied cable was not long enough to reach the spare on the 7 stud busbar). I sourced an 80 amp ZCase fuse, as the ARB has twin 40 amp MAXI blade fuses. The Sparky cut off the two MAXI fuses and ran the cables straight to the80 amp ZCase fuse.
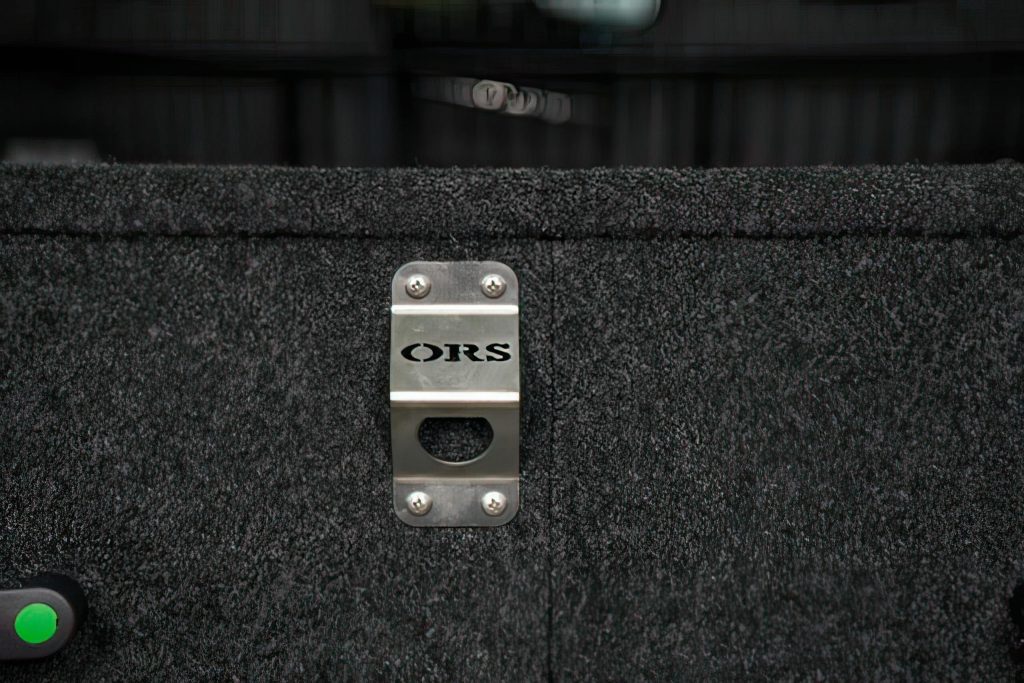
Globalgregors inspired The Doc to add the bottle top opener on the drawers and go for a deeper drawer than originally planned, after he saw their finished setup.
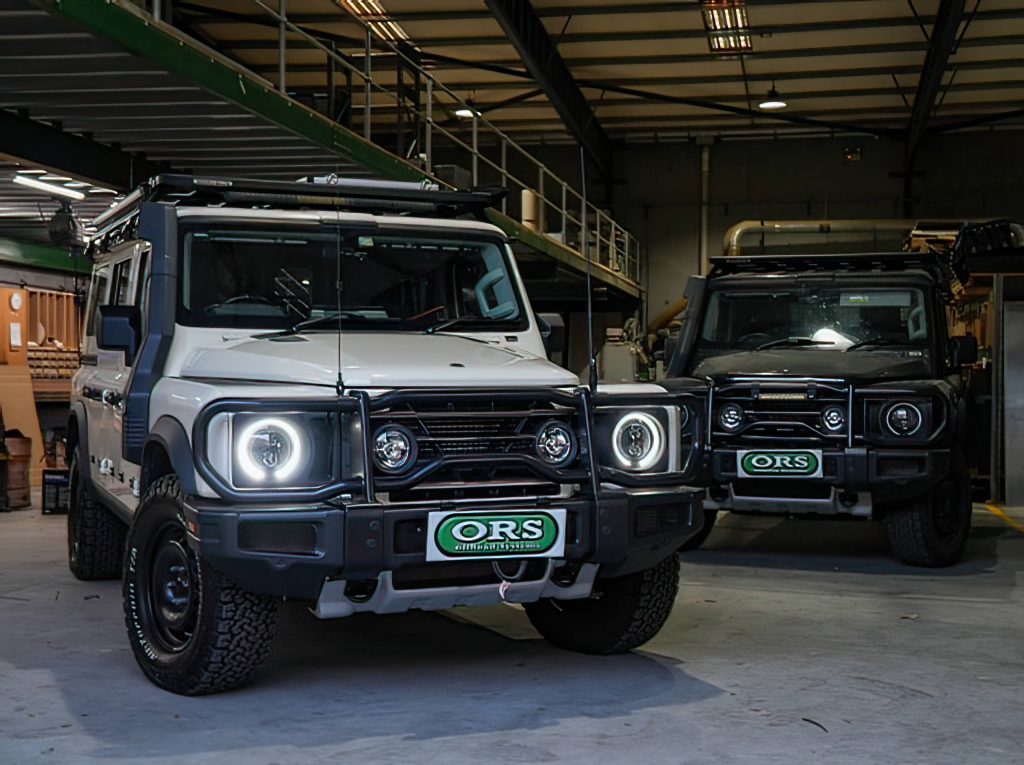
There was another INEOS in simultaneously getting work down, and ORS asked if they could keep The Doc’s car an extra day and have their Pro Photographer take pictures of both (see some of those images below).
The rear roof shelf has been installed and will be covered in the next update.
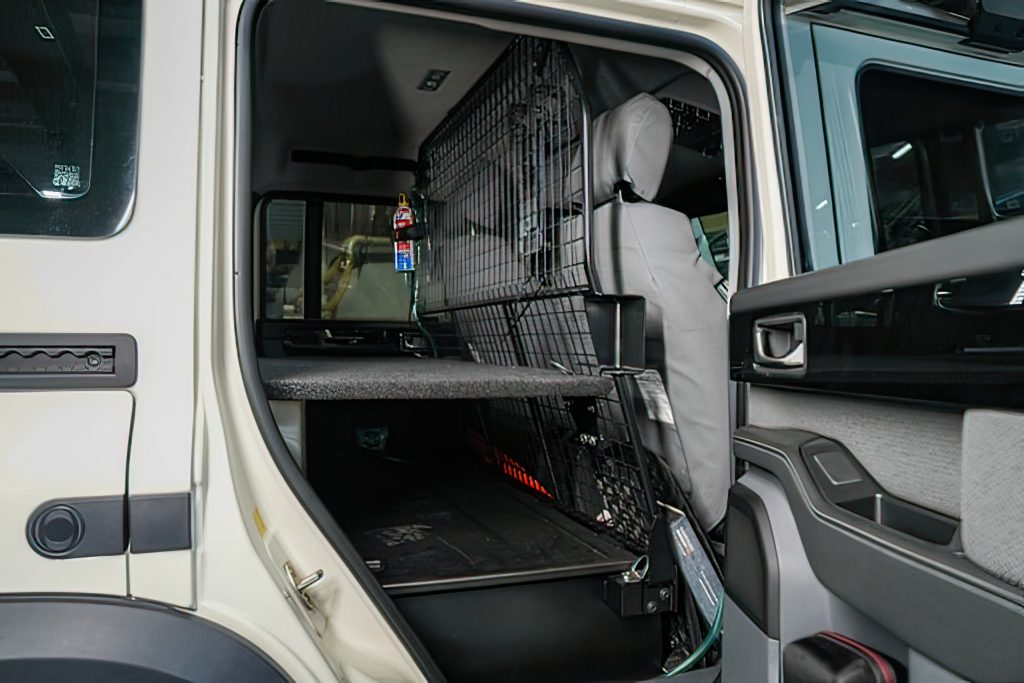
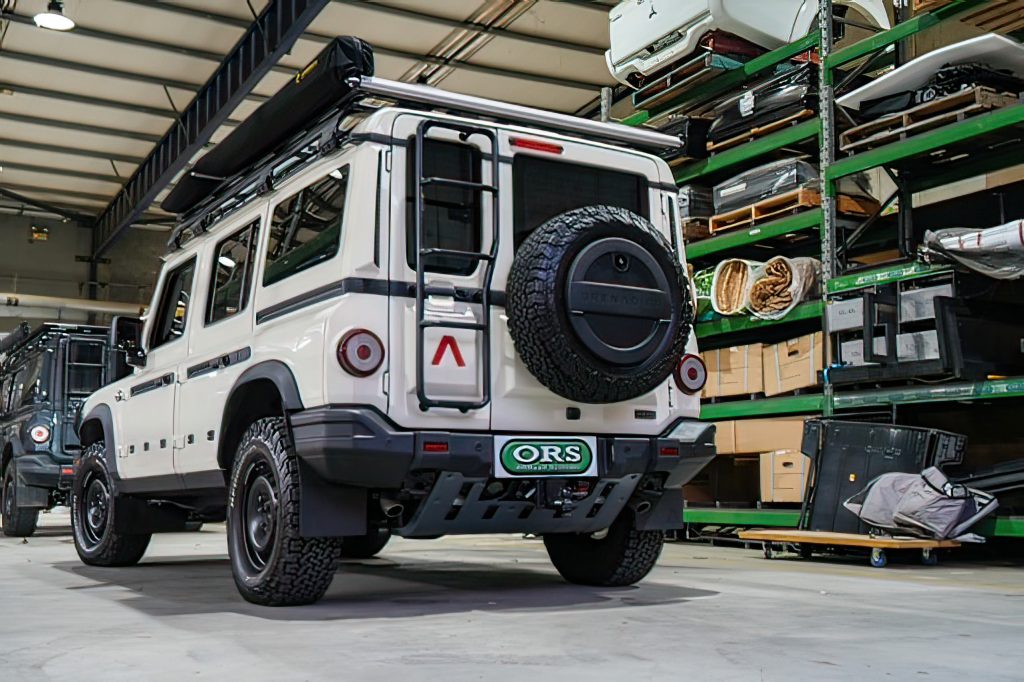
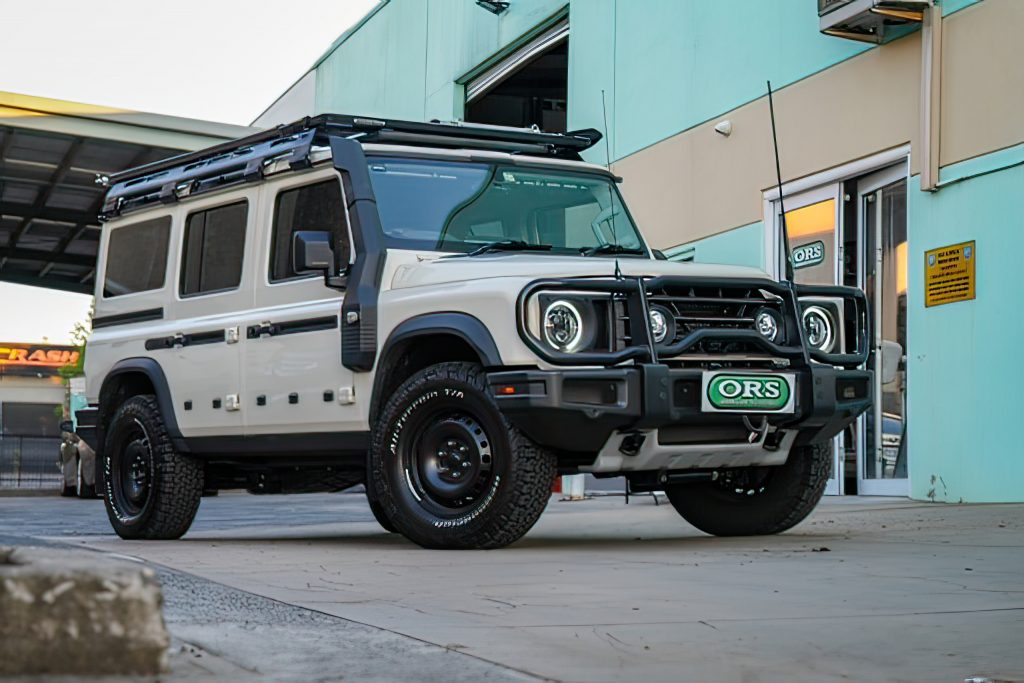

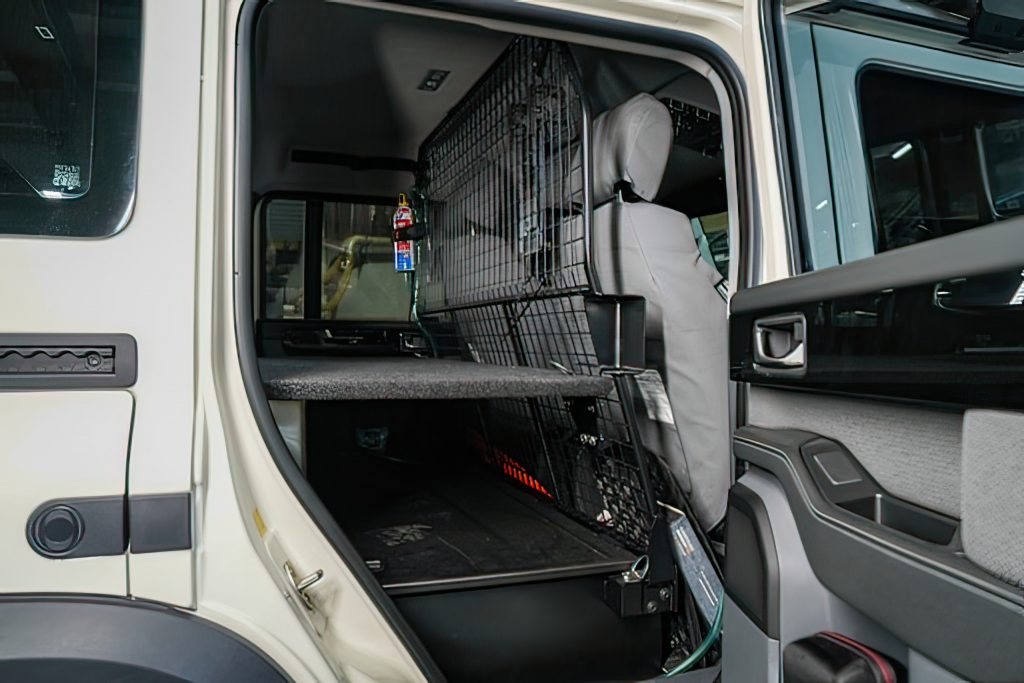
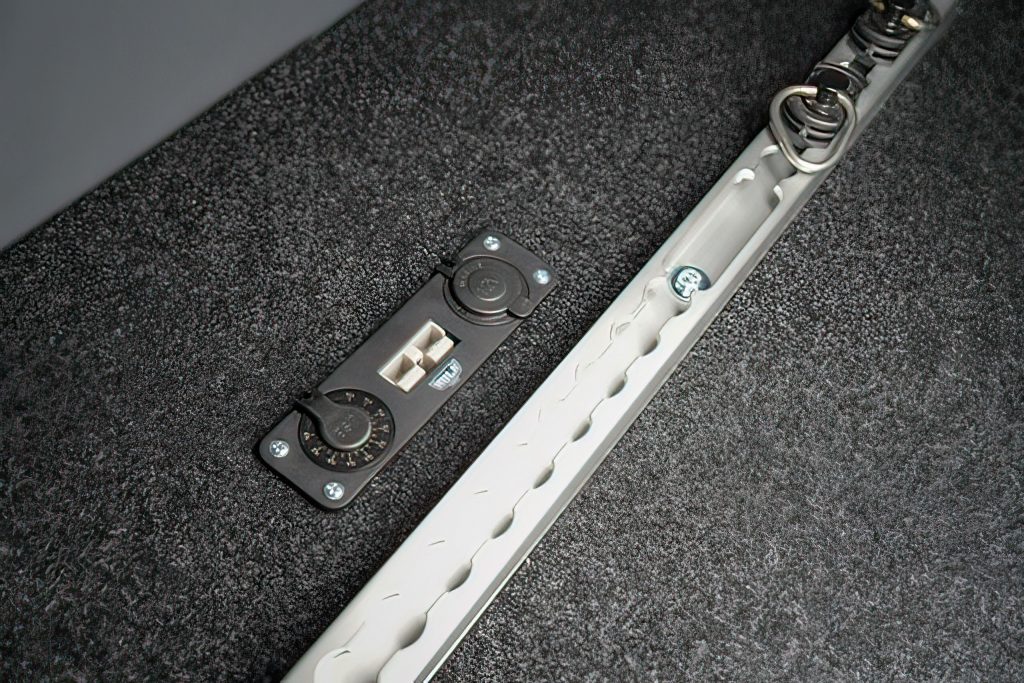

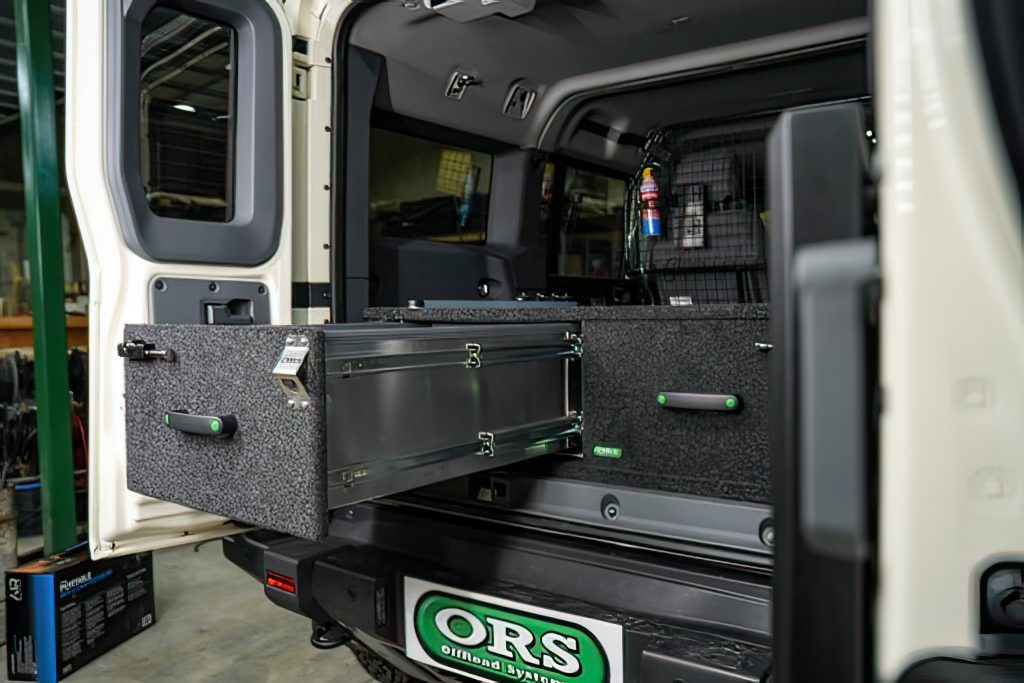
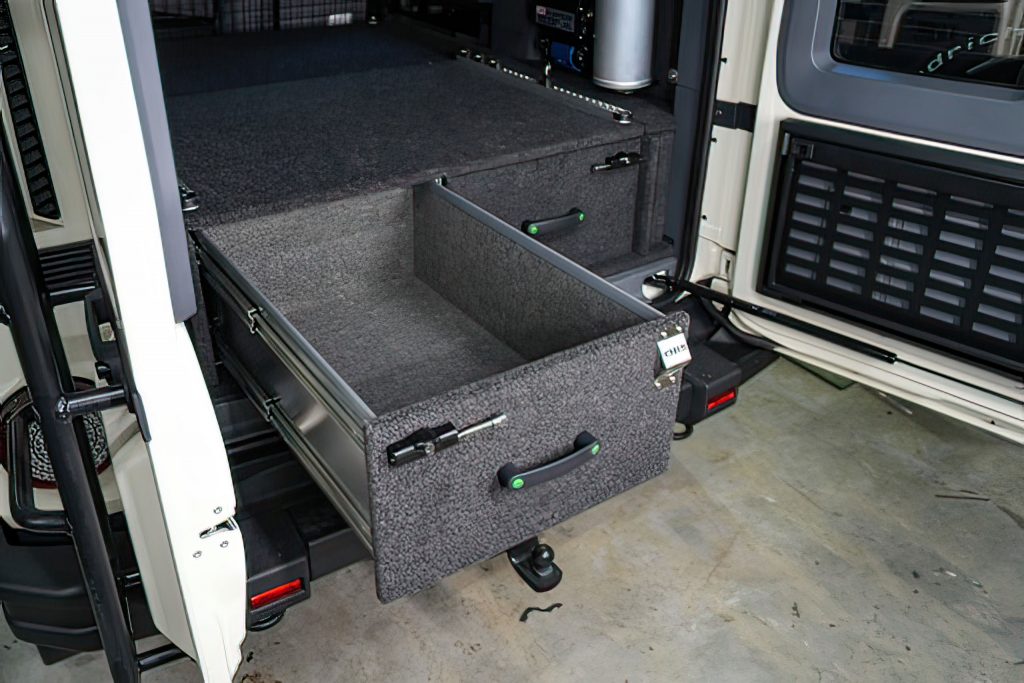
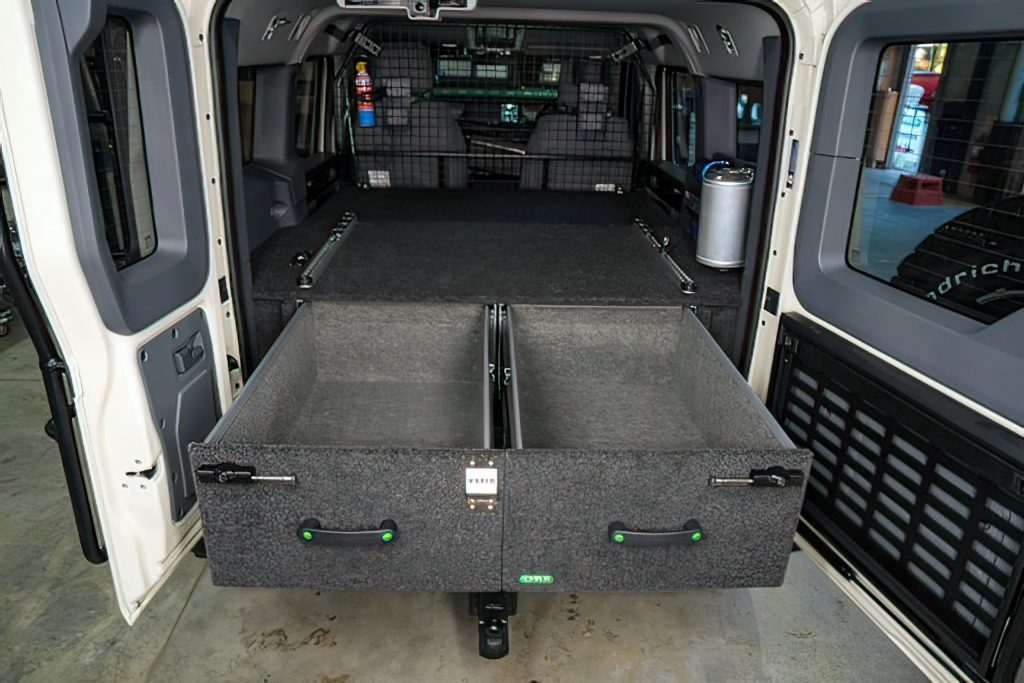

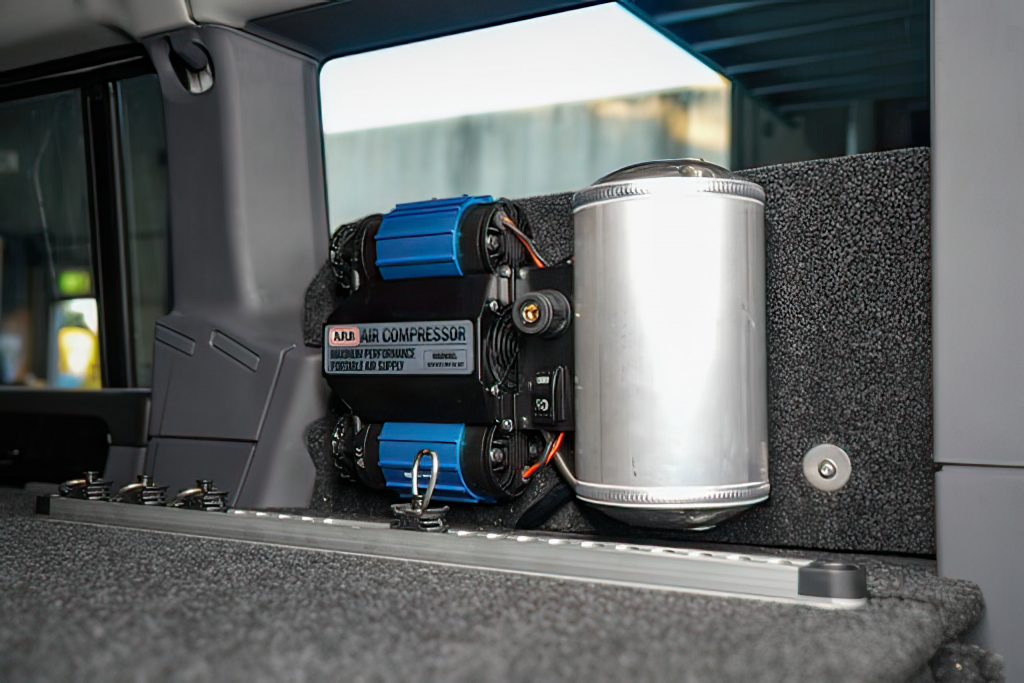
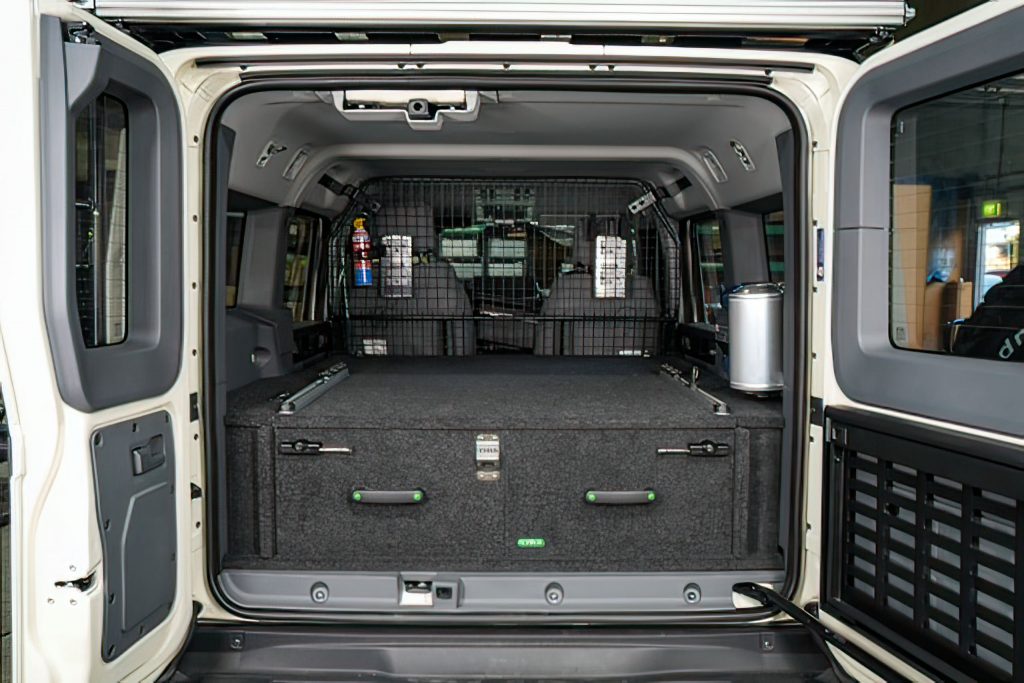
Images from the Offroad Systems fitout. Description of the fitout here.







The Doc’s Grenadier build continues. The Doc installed the Nakatanenga Sun Visor Organiser today on the passenger’s side visor. He was running out of room in the lockable centre console. He also bought an emergency mirror that he mounted on the organiser killing two birds with one stone – a vanity mirror on the passenger’s side and an emergency mirror if needed. The mirror is visible when the visor is down. Image from Nakatanenga website.

The Doc also installed the Nakatanenga rear Door Air Vents on both sides. Driver’s side shown here (RHD car). As he will sleep in the car, The Doc needed air circulation throughout the night. Previously he used a window sock and put down the window. This is a better solution.

ORS rear drawers, water tank, bed extension and dual ARB air compressor go into the car over the next 2 days.
AERIALS FITTED
The aerial on the left of screen is the RFI CD63 Black 6.5dbi removable aerial. It is very thin, so the driver’s vision is barely impacted. The twists you see 1/2 down the whip is there to absorb vibrations/corrugations. When travelling across corrugations The Doc calls it the hula girl.
This aerial is fitted to a GME TX3520S.
The aerial on right of screen is the RFI CD961-71-75. It has interchangeable antenna whips which operate at 6.5dBi and 3dbi. The 3dbi whip is tiny at about 10cm long. The larger 6.5dBi antenna is fitted in the picture. This aerial is fitted to a GME XRS390C. I have a GME XRS-BT1 hands free kit to install on the GMEXRS390.
The handsets are mounted on the passenger’s side of the centre console, using the Brodit bracket.
The basic cable feed is shown in the second image.


Installed two UHF aerials and head-units inside the car. Plus a restyled number plate. Full write up above.
A link to The Doc’s guide on Anderson plugs, commonly used in 12 volt setups in cars for caravan, car fridges, etc. Guide is here with links to the right tools, suppliers and techniques to make great crimps.

You must be logged in to post a comment.